How to Use Photo to Sketch Pro to Make Drawings From Photographs
Sketching in an art and not everyone can master it. In the meantime, no one can stop people from making sketches, especially when there are different software programs now available in the market that allow users to turn their photographs in sketches with just few clicks. Photo to Sketch Pro is one such program, which you can use to turn a JPEG or a BMP file into a pen, pencil or pastel drawing.
The program is free to download and easy to use, provided that you know its basic functions. So, show your friends with some of your creative work by printing the sketches on fine linen stock or on a canvas to heighten the effect.


Instructions
-
1
Open your web browser and navigate to Google, or any other search engine you use. Type Photo to Sketch Pro download and press the “Enter” key. From the search results, open CNET’s link, as it is a reliable source to download software programs. Click the “Direct download link” text link and wait for the program to be downloaded.
-
2
Once the downloading is finished, you can navigate to the folder where the setup file is saved and double click on it to start the program installation. Follow the onscreen prompts to complete the installation and run the program.
-
3
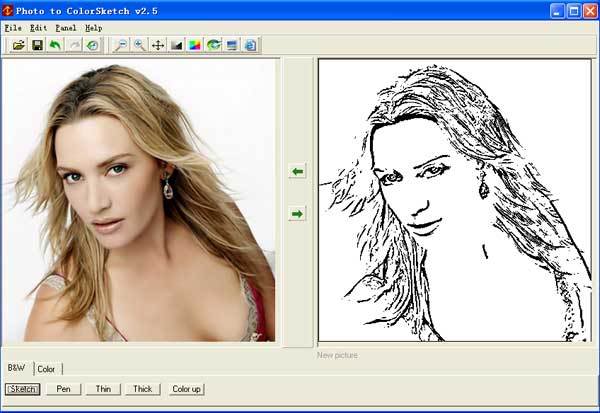
Go to the “File” menu and select “Open” to open the file which you want to turn into a sketch. After you are done with loading the image in the program window, you can set the amount for detail and level of sketch lines by adjusting the line slider and the precision slider.
-
4
You can also sketch manually, by selecting the “Freehand” tab. You can select from different tools, such as pen, pencil, brush, pastel and eraser, to create your sketch. You can adjust the size of the tool and start painting the areas that you want to convert into sketch. You should not touch the areas with the brush, which you want to eliminate from the sketch.
-
5
You can then add a background to your sketch, by adding a JPEG or BMP image. If you do not have any image to set as a background, then you can use some of the backgrounds offered by the program itself.
-
6
Once you are done with making your sketch, click the “Save” button, and specify a location where you want to save your sketch.


