How to Use Rub on Stickers
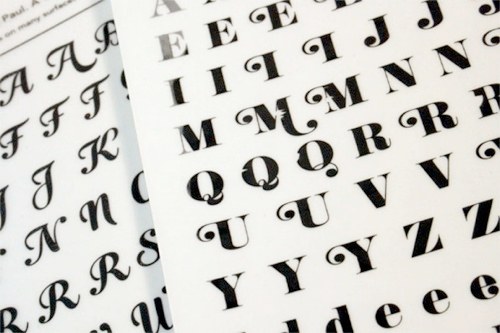
Also known as transfers, rub-on stickers serve as a very professional-looking embellishment for scrapbooks, and other paper crafts of a similar nature. Unlike regular stickers, there are no adhesives involved, and rub-on stickers just sit flat on the pages they are applied to. Extremely easy to use, rub-on stickers come in a multiple sheets and while they tend to be available in a variety of designs, the most popular are alphabet rub-ons, which make for neat-looking headings and text.
Things Required:
– Rub-on stickers
– Scissors
– Craft stick


Instructions
-
1
Since multiple rub-on stickers are printed onto a single sheet, you will need to begin by cutting out the sticker you wish to use. You can apply lots of them at once if you are going for stickers like bunches of flowers, etc, but if you are using alphabet rub-on stickers, you will need to cut them all out, and apply each letter individually, to form words.
-
2
Once you have cut out the sticker you want, and separated it from the sheet, peel the back paper off the sticker, to expose the sticky side you will be applying and rubbing on to the paper. Select the spot where you want to apply it with care, and smooth the paper out with your fingers, getting rid of any creases or dust.
-
3
Now, gently set the sticker down onto the paper, applying the sticky rub-on side to the spot you chose. Lay the entire sticker down flat, making sure there are no wrinkles and creases in it. Smooth it a little with your fingers, and then use a craft stick to start pressing down hard on the rub-on sticker repeatedly, while holding it in place with one hand.
-
4
Continue rubbing and pressing with the craft stick for a while, and then gently peel back a tiny corner of the sticker, to check if it has rubbed off onto the paper. If you feel it needs to be rubbed on more, smooth it back onto the paper, and continue pressing down on it.
-
5
Finally, when you feel it is done, peel the paper off to expose the rubbed-on sticker. Discard the used rub-on sticker, and move onto the rest, repeating the same process until the desired effect is achieved.


