How to Use the File History Feature in Windows 8 to Restore Files
Have you ever seen your friends using the Time Machine Feature in their Mac OS X? If yes then you must be aware of its exquisite function. In urge to provide Windows user a perfect operating system the developers of windows 8 have introduced a File History that works quite similar to the Time Machine. With the help of this feature you will be able to restore your files which were deleted previously.
The developers of Windows 8 have accomplished in making window’s users familiar with the latest features and unique functions, and File history is one of them. Follow the step by step procedure mentioned below and get to know how exactly it functions.


Instructions
-
1
Setting Up File History Using A Shared Folder
In order to make use of file history with a network share, you will first have to open your Home server and create a folder by the name of File History. -
2
Right click on the File History and select Share With from the popup menu and choose Specific People from the drop down menu.
-
3
A new window will open on your screen, with the heading File Sharing. In the field in front of Add button, type ‘Everyone’ and then click on the ‘Add’ button.
-
4
A new name will appear on the list viewed in the table; you will have to change the level of permission allowing everyone to read as well write. Click on the arrow directing downwards and check on Read/Write option.
-
5
Switch to Windows 8 machine and begin explorer; from the tabs viewed on the top of window, click on Computer tab and then you will have to open classic Control Panel.
-
6
In the Control Panel section hit on the System and Security link.
-
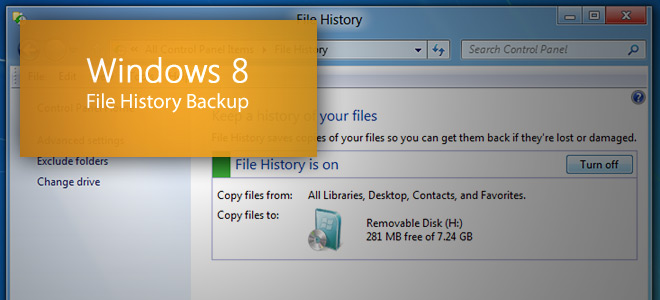
7
On the same window System and Security page will load, open-up the File History Settings, which can be viewed nearly at the bottom of the window.
-
8
On the left side of the window click on Change Drive, then you will be asked to add network location; hit the button Add Network Location.
-
9
Few folders will be viewed on the window, click once on the File History and then hit the Select Folder button.
-
10
You will be brought back to the Change Drive window, select the network location and click on OK.
-
11
In the file History window press Turn On button, the File history folder will turn on.
-
12
After hitting the Turn On button a message will popup asking you ‘do you desire to advise the location that you used for File History to other users in your Home Group where you cans save the file history’; you can either select yes or no depending upon your choice.
-
13
Restoring A Deleted File Or Folder
If by accident you have deleted a file and you desire to restore it again then follow the procedure mentioned below:
Open Library from the document’s window and click on the History option form the ribbon. The motive is to restore the deleted file without affecting other folders. -
14
A new window will open on your screen showing various versions of the Documents Library.
-
15
On the bottom of the page you can see a button that is pointing back and forth; if you click on the arrow pointing backward you will be able to see the folder that you deleted earlier.
-
16
Select the deleted folder and click on the blue button, this will restore your file.


