How to Use the Watercolor Filter in Adobe Photoshop
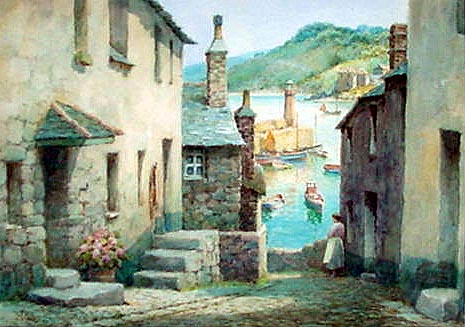
Adobe Photoshop is a great image editing software program, which you can use to apply different effects to your pictures with just few clicks. The watercolour filter in Adobe Photoshop allows you to turn your photograph into a watercolour. The process of applying the watercolour filter is really easy, and you can print your creations on fine linen stock, or you can also print the edited images to canvas, to increase the watercolour effect. So, if you have a scene view or landscape that you want to turn into watercolour, then nothing can be better than to use Adobe Photoshop’s watercolour filter.


Instructions
-
1
If you have created a desktop shortcut for Adobe Photoshop application, then you need to double click on it to launch the program. If you do not have any shortcut saved on your desktop, the you will have to launch the program by going to the “Start” menu and locating the program in the “Programs” section. If you are using Windows Vista or Windows 7, then you just have to open the “Start” menu and write Adobe Photoshop in the “Search” field. You will then see the program icon appearing in the search results. Click on it to launch the program.
-
2
Now go to the “File” menu and select “Open”. You will now see a new window popping up on your screen, asking you to locate the file which you want to turn into watercolour. Select the file and click the “Open” button and you will see the image appearing in the program window. Here, you should try to select an image with a landscape view or a picture of still life, as these types of photographs work best when applying the watercolour filter.
-
3
From the main menu bar, click “Filters” and select “Artistic”. From the list of filters, you can now select “Watercolour”. You will now see three sliders appearing at the bottom of the preview window, which you can use to adjust the “Brush Detail,” “Shadow Intensity” and “Texture”. Adjust them as per your needs.
-
4
When you get your desired result, click the “OK” button, and wait for the rendering process to complete. Once you are done with applying the watercolour filter, you can save it by going to the “File” menu and selecting the “Save As” option.


