How to Repair a Rotten Window Sill
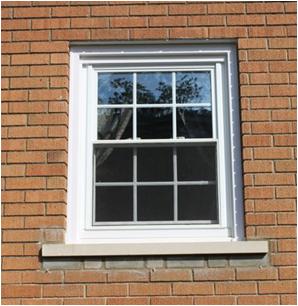
Discovering a window where the wood has rotted is no doubt a cheerless experience. It is better to replace the decayed window sill as it spoils the overall look of your well-painted home. Do not take it onto nerves as repairing a rotten window sill is a very simple process. Furthermore, there is no need to call any carpentry company as you can perform the task yourself by going through this simple guide.
Things required:
– Wood-cutting blade or pry bar
– Hammer or a pair of pincer-pliers
– Sharp block plane
– Measuring tape
– Lead pencil
– Sandpaper
– Sharp saber saw
– Wood adhesive
– Nails or Screws
– Caulk Gun
– Wood Paint


Instructions
-
1
Remove the rotten Window Sill
Take a long wood-cutting blade or pry bar and gently remove the putrid window sill.
-
2
Remove nails/screws
Now pull out all of the nails or screws, using a hammer or a pair of pincer-pliers.
-
3
Remove excess wood
Now you have an easy template to install the new window sill. Use a sharp block plane to do away with any excess wood and to smooth the surface of the wood.
-
4
Measuring
Grab a measuring tape and start gauging the removed old window sill for the length, width and thickness.
-
5
Cut the new window sill
Take a smooth piece of wood and mark the measurements on it, using a lead pencil and measuring tape. Use a sharp saber saw to cut out the shape of the new window sill. Smooth the window sill with the help of sandpaper.
-
6
Apply adhesive
Apply a good quality wood adhesive along the old window sill and put the new window sill in place.
-
7
Add the new window sill
Press the new window sill into the adhesive, and immediately fix it with two nails or screws at both ends. You can use more nails or screws, if required.
-
8
Paint the new window sill
Run a bead of caulk around every edge of the new window sill and cover the nails’/screws’ heads with wood putty or caulk. Apply primer and leave it for few minutes until dry. Now apply a fine coat of exterior paint for nice finishing touch.


