How To Add a Printer to a Macbook Air
Generally all devices attached with your computer or laptop have manuals inscribed with instructions to install and use them. By following them carefully you can perform the task and achieve the desired goal. A similar method is done while adding a printer to your MacBook Air. It is a simple task but if you do not do it properly and miss some of easy steps, your installation process can be interrupted. However, it does not require an expert advice or action to add a printer to your computer. If you are familiar with how to install a software from a cd/DVD or any other source, which includes all required drivers and applications, you can add a printer to your MacBook Air. For the printer however you do not need a CD/DVD or any other such source, you just have to plug in your printer cable with your computer and wire cable to a electric plug, it will take you to printer installation step by step.


Instructions
-
1
Start and Follow
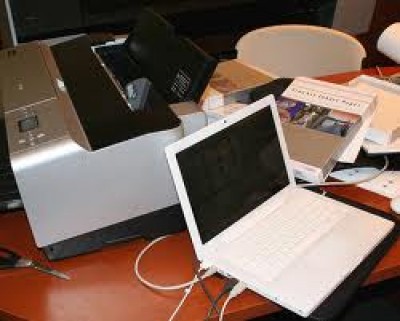
You start installation of a printer to your computer with plugging your printer's flat USB cable into your computer. It is plugged in one of USB ports available on your MacBook Air. It is better to use a port on back of your computer to avoid you any inconvenience while using other data sources i.e. USB devices, Data Cards or Portable Hard Disks etc. You will start receiving instructions for installation after you have plugged the cable. -
2
Access Toolbar Menu
After you have plugged the data cable of printer to your MacBook Air, click on the Apple icon from your toolbar menu. It is a dead easy step, and you can easily locate the Apple icon. -
3
System Preferences
From Apple icon you will have to select your system preferences option. It is a small but an important, and you cannot just avoid it. It will take only a few seconds to take you to the next. -
4
Printer Option
From display window of your MacBook Air you go on the printer option. Generally printer and fax options are in the same tab, just press it and it will display a message window to add printer and perform other options from it to chose your preferences and options. From the window you can also chose page-setting and printing preferences. -
5
Printer Location
From message window you should select the printer location option from the printer box. It will guide you to the location, where setup file is stored, and from there you can select and install the printer. -
6
Actual Installation
After locating your printer setup, you just have to press the Add tab and it will start installing the printer to your MacBook Air. Just to check if it is installed properly, you can print a trial page, which normally inscribes the company and printer information. You can change your settings, such as page marking and alignments etc as continue the printing process. It depends on the requirement of each print you take.