How to Change Instrument Panel Lights
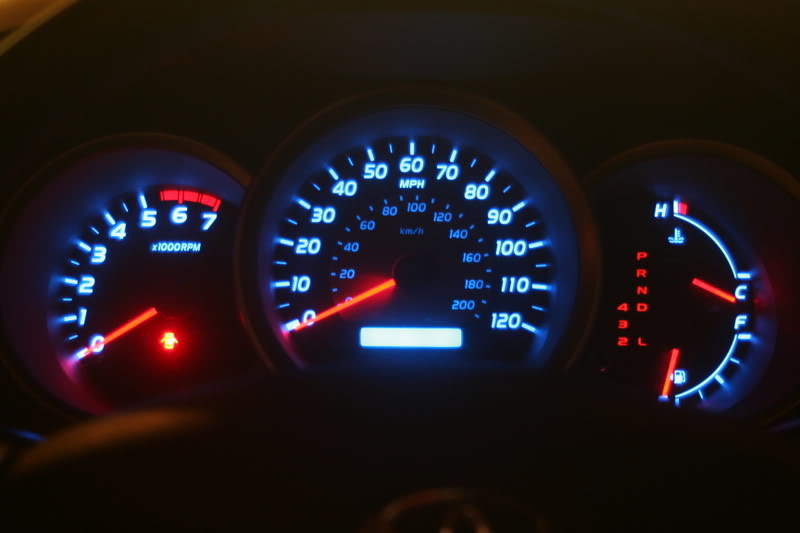
Instrument panels are found on nearly all vehicles, including bikes, cars and planes, and provide information and functions essential to the vehicle’s operation. Gauges and meters are common design elements and they are nearly always equipped with back lights to facilitate night usage. Given their importance, if panel lights stop working, you should change them at the earliest to avoid night driving worries.
Instructions
-
1
The first step is to locate the exact bulbs that are required. Just note down the number of the bulb and look for it at your nearest hardware store. If the bulb is not available then you might have to replace the instrument panel.
-
2
When you get the bulbs, it is then time to disassemble the dashboard. You first have to loosen up all the fasteners before removing them completely. To dislodge them you might need a small screwdriver but be careful not to break them.
-
3
When a trim panel is removed you will find some hidden fasteners. Remember, if during the removal process you need to exert force in order to remove something, stop at once and examine the piece. This could happen when you miss a fastener.
-
4
After removing the trim, the instrument panel will be loose and you can easily pull it out. However, be very careful not to damage wire harnesses or the speedometer cables. For your own convenience you can tilt the panel to see the sockets more clearly.
-
5
You now have to locate the bulb which should be inside the socket.
-
6
The bulb should be easy to pull out; however, if it is a bayonet style bulb then it will be difficult to remove. Replace the faulty bulbs and then insert the panel back again.
-
7
You may require a pencil eraser to clean the contacts which will ensure proper connectivity. Now test the lights.
-
8
Testing all the bulbs is necessary before you patch everything up again. You should know the exact number of bulbs which need to be replaced and then test them accordingly.
-
9
After testing, you can now replace the panels and the fasteners.
-
10
Now carry out another test to check if the connections are tight and there are no loose wires.
-
11
Since the bulb sockets are very fragile you need to take extra care when pulling the bulbs out and installing new ones.
