How to Custom Decal a Model
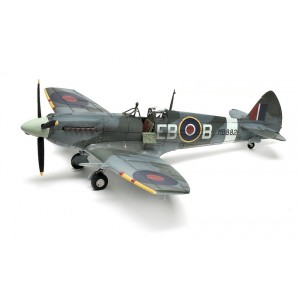
For anyone who loves to put together model planes, trains or other items understands the importance of custom decals. No matter how big or small the model, the finishing touches is what makes it look realistic. Applying custom decals to your model requires patience and a steady hand as the size of your model makes all the difference. If you are looking to apply custom decals on your model there are a few simple things that you can do to make your model special.
Things Required:
– Razor blade
– Tweezers
– Clear Coat
– Water-Slide Decal Paper


Instructions
-
1
Go online:
If you are looking for custom decals for your model then go online and you fill many websites dedicated to this subject. You will also find free easy to download images that you can use to create custom decals for your model. -
2
Use computer:
Get on your computer and use any simple imaging or graphics software to create the different letters or shapes that you want to apply to your model. Remember to keep the sizes of your images in accordance to the size of the model. Take your time and look for different images that you can modify that you think will look good on your model. Once you have finished making the different images then take a printout. -
3
Use water-slide decal paper:
You can buy water-slide decal paper that allows you to put it inside your printer and any images that you want to make a decal out of can be easily printed. This paper is a real help as it takes out the long and arduous process of converting the images to decal formats. Remember to make sure that you get a decent thickness of decal paper so that it does not get stuck inside your printer. -
4
Print and cut:
Take out a nice high quality printout of your custom images that you want to apply on your model. You might want to take out two printouts just in case you might make a mistake while cutting the decals. Place your decal printout on a hard flat surface and use a razor blade or scissors to cut each individual decal. Take your time and be very careful while handling a razor blade. -
5
Clean model and apply:
Clean the area on the model that you want to apply the custom decal with a cotton ball and dip your decal in water to get it wet. The decal paper is designed to be used with water. Once the decal is wet use your tweezers to carefully place on the model. Once set you can apply a little bit of clear coat on top to secure the decal once it dries.


