How to Enable Facebook Timeline
After the launch of Facebook Timeline, the users’ profile has been completely modified. It is a radical new profile page design which helps you to rediscover the things you share, and grab your most memorable moments. You can share new experiences, like the concert you attend or the miles you run etc.
Now with the Facebook Timeline, your default profile has been changed from a list of your latest updates and you can see the summarized view of your whole life since birth. It contains your photos, videos you shared, status updates and locations you have visited. Well, it sounds really interesting, and I am sure every one of you may want to enable Facebook Timeline on your Facebook profile.


Instructions
-
1
Verify your Facebook Account
First of all, you need to verify your Facebook account by providing a mobile number or credit card number. Once you are done with this process, then you will be allowed to try new features. -
2
Facebook Developer Page
Sign in to the Facebook Developer Page, if you are doing this for the first time, a Request for Permission popup will become visible on your screen. Simply click on Allow.
Now click on Create New App

-
3

-
4

-
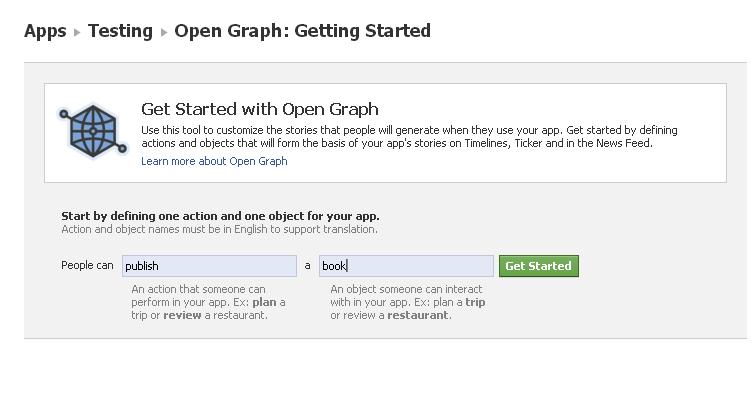
5
Now, type any verb and noun in the given fields, and click Get Started

-
6
On the next page, scroll down and click Save Changes and Next. You have to click it for two times.

-
7

-
8
Login to Facebook and you will see an enabled Timeline on your profile. Take a tour and enjoy.