How to Install a Bug Shield
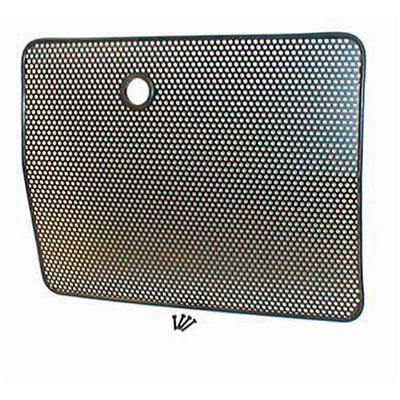
Installing a bug shield is not as hard as some of you may think. With a Lung Bug Shield on the front of your car or van or truck, you can control the number of bug splats on your windshield. If you are looking to prevent unwanted strains on the hood or windshield o you can vehicle, consider buying bug deflectors from your local super market.
Furthermore, a bug shield can help your prevent dust, pebbles, denting and cracking of windscreen and cracking. Most bug shields are based on the aerodynamics theory and it is extremely simple to install them on your wind screen.
If you are a frequent traveler who drives car on motor ways on regular basis, then you must get a bug shield to protect the paint job.
Things required:
– Car washing supplies
– Towel
– Electric drill with Phillips screwdriver bit
– Phillips screwdriver


Instructions
-
1
Bug shields are readily available in a range of designs but you should choose the one that best suits your needs. You could either visit the local hardware store or look online for the designs.
-
2
Once you have purchased the bug shield, consider washing your vehicle carefully before installing the bug shield.
Make sure you clean the front of the hood properly. For those who do not want to clean the entire vehicle by themselves, they can only clean the area where the bug shield will be installed. -
3
Wait for the hood or windscreen to dry out before installing the bug shield. Remember the shield will not stick to a wet surface.
-
4
Use alcohol wipes to clean the area on the front of the hood. Alcohol wipes are usually supplied with the bug reflectors and are designed in a way that they completely dry the surface and make the windscreen ready for glue or adhesive.
-
5
Follow the instructions provided in the manual to place the bug shield on the windscreen. Use a pen to mark those points where you will need to stick the shield. Now remove the adhesive from the packing and paste it on the back of the shield. Take your time when placing the shield and wait for the adhesive to get dry.


