How to Install a Furnace Humidifier
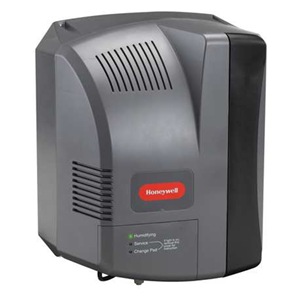
Installing a brand new humidifier furnace is not as hard as some of you may think. Usually a humidifier burner is installed in the house to get better heating results. Selecting a reputable brand is vital as it can help you avoid a headache later on. So what do you need to install a humidifier burner? The answer is not that simple as you may need a list of materials and tools to get the job done.
A motor driven evaporator pad turns in the water pan inside the humidifier furnace. Warm air typically passes through the warm air plenum, which is then sent to the evaporator pad. The air finally returns to the cold air duct. So what one needs to do while installing the furnace is identify the return duct, which usually leads to the base of the equipment.
It is now time to analyse which side of the furnace will be better for installation and maintenance purposes. If a leak occurs in the future, the water should not be able to cause any damage to the product.
It is also recommended to read through the manufacturer’s instructions before beginning with the installation. With a little patience and some elbow grease you can install a furnace humidifier in your home or office.


Instructions
-
1
Apply the humidifier template
Usually, the installation is 1 foot high between the centre of the air take off point and the opening for the humidifier. Mark the location by placing the template on the warm air duct. By doing this, holes for screws will be made for fastening the duct. Secure it by applying masking tape. Screw the sheet metal screws into the holes after drilling them through the template. -
2
Installing the humidifier
Now it is time to install the humidifier, the easiest part of it all. Usually it is hooked on the screws by letting the nails pass through the hooks at the back of the product. Check the balance and level of the humidifier by looking at it from a distance. Tighten the screws and install the motor unit inside the casing as per the manufacturer’s instructions. -
3
Installing air take off collar
Let’s now move to the hardest part of the process; installing the air takeoff collar. Place the air take off collar on the point for warm air duct. Mark fastening holes as per the manufacturer’s instructions and drill them to create a round opening to install the product.


