How to Make a Pinata without a Balloon
Piñatas are generally made by using papier mache to cover an inflated balloon, and this structure is filled up with candy and treats. The piñata is then strung up and children are blindfolded, and given turns to swing at the piñata with a stick, in order to release the treats. While most piñatas are made in the form of an animal, some might want one in the shape of a car or a train, in which case a balloon will not serve as an appropriate base. For this purpose, a piñata can be made without a balloon, by using a cardboard box.
Things Required:
– Flour
– Water
– Old newspapers
– Cardboard box
– Masking tape
– Chord or strong string
– Scissors
– Coloured tissue paper
– Candy and treats
Instructions
-
1
Firstly, start by making the “glue” you will use to stick the strips of newspaper onto the cardboard box, to form a covering for your piñata. Take a medium-sized bowl, and add in the flour and water – blend them together well, until they form a thick, gooey, glue-like paste, and there are no lumps left in the mixture.
-
2
Next, use your scissors to cut the newspapers into rough, narrow strips. The piñata needs to be covered by these strips at least three times, so ensure that you cut up enough newspaper strips to accomplish this.
-
3
Once the glue and the newspaper strips have been prepared, it is time to get the box ready for the coatings. Turn the box upside down, so the flaps and lids are facing downward, and tape these shut – this will make it easier for the kids to release a shower of candy.
-
4
Now, you can start covering the box. Take a strip of newspaper, dip it into the flour glue, and then use your fingers to remove excess liquid from it. Lay this flat onto the cardboard box. Continue laying strips onto the box with this method, in a criss-cross fashion. Cover the entire box in this manner, and then allow it to dry completely before adding another layer.
-
5
Once it is dry, tie a chord or strong string around the entire box, and form it into a loop at the top – you will use this to hang the piñata later on. Now, add on the final layer of newspaper coating to the box – cover the chord, but not the loop you’ve created at the top. Let the box dry thoroughly.
-
6
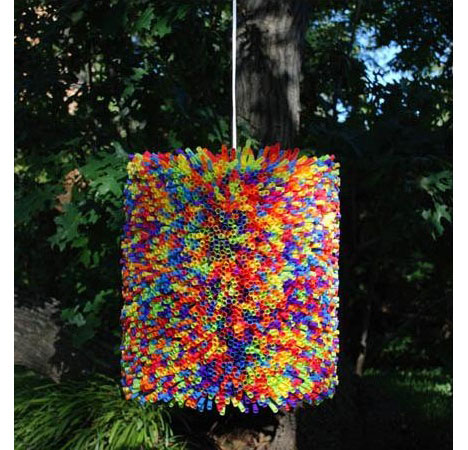
Finally, decorate the piñata – stick folded pieces of coloured tissue paper all over the box, and use the scissors to fray these, to create a ruffled look. Lastly, use the scissors to create a small cavity you can use to fill the box with candy and treats. Your piñata is now ready.
