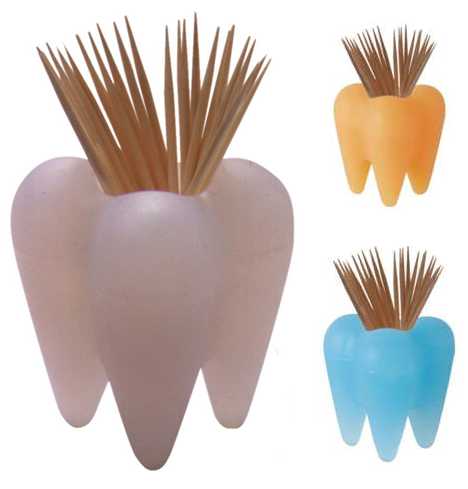
How to Make a Toothpick Holder

While you can buy a toothpick holder by paying a small amount of money, making one at home is a fun little project, that not only allows you to make a one-of-a-kind toothpick holder but also utilize various spare crafting items in your pantry. You can also involve your children in this for a fun afternoon.
Things Required:
– 1.5-inch terracotta pot
– Cotton cording
– Felt
– Kitchen shears or Scissors
– Hot glue gun
– Craft glue
– Paint brush
– Buttons and beads for embellishments (optional)
Instructions
-
1
Cut a small circular piece of the felt, equal to the inside bottom of the pot you are using to make the toothpick holder.
-
2
Apply glue to the inside bottom of the pot, fix the felt in place and set aside the pot to let the glue dry completely.
-
3
Cover the outer surface of the terracotta pot with a thin layer of craft glue and let it dry completely.
-
4
Once the craft glue has dried completely, apply another thin coat of the glue and attach the cotton cording to the terracotta pot on its outer surface. Make sure you cover the pot completely with the cording from top to bottom.
-
5
Clip the open end of the cording and fix it in place with the help of the glue.
-
6
After wrapping the terracotta pot with the cording, set it aside in a safe place to allow the glue to dry completely.
-
7
Once the glue has dried, decorate your toothpick holder with beads and buttons. Attach the beads and buttons to the cording using the hot glue gun. Place the embellishments in designs of your choice and preference and allow the glue to dry completely.
-
8
Fill the toothpick holder with toothpicks and put it on the kitchen counter or dining table.

