How to Make Dipping Candles
Traditionally, the common type of tall, thin candles that you burn in candle sticks are made from a dipping process. While making dipping candles is simple, it is not usually the type of candle most people make when they first get interested in the craft. It is a very time-intensive process, but it is fun and the steps are really quite simple. Why not set aside an afternoon to try this interesting and traditional method of making your own candles?
Things Required:
– Cotton twine
– Long dowels
– Candle-making wax
– Sauce pan
– Empty glass jar or metal can
– Newspaper
Instructions
-
1
Take wax and place it in a jar or a can. You will require a lot of wax to make candles. Therefore, you will want your container as full as possible, although you can add more as you go.
-
2
Fill a sauce pan with a few inches of water and heat it until it boils. When it boils, put the container of wax chunks in the pan. The water is important because it prevents the wax from getting too hot. Keep an eye on the water and add some more if the level gets low.
-
3
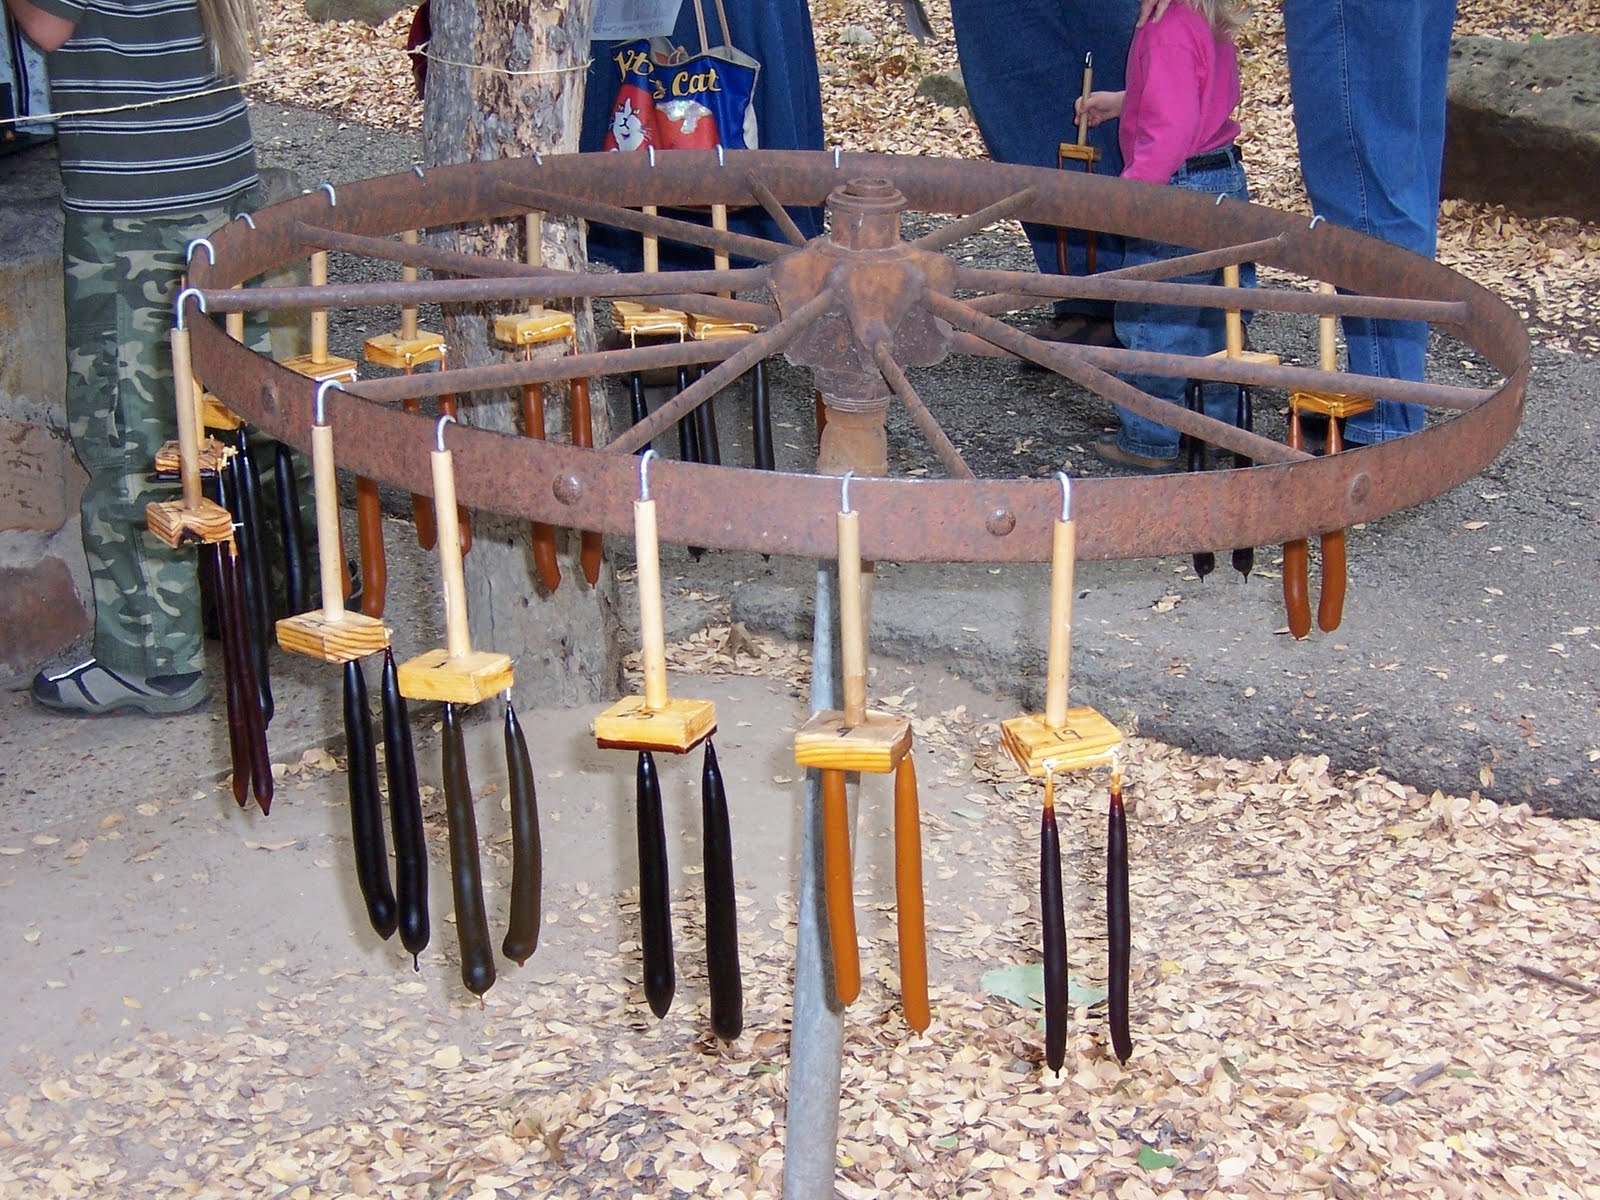
Prepare other materials while you wait for the wax to melt, which can take a long time. Cut pieces of twine that are a bit more than twice as long as the candles you are going to make. Hang the dowel rods by their ends – one way to do this is to balance each end on the back of a chair. Place newspaper under this area to catch any excess wax.
-
4
Dip each string completely in melted wax, and then hang it over the dowel to dry. It is fine if you do not get the end of the string because you can get it in the next round. Wait for the strings to dry completely.
-
5
Pick up each string by the centre fold. Quickly dip both ends in the wax, and then return to the drying dowel. As you make dip candles, you will repeat this process many times. Each end of the string will become a candle, while the folded middle area that does not get dipped repeatedly will be the wicks. When the candles are as thick as you want, you can cut them apart or leave them in pairs until you are ready to use them.
