How to Make Henna Cone
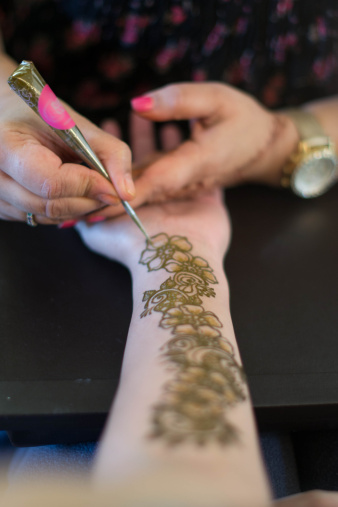
A henna cone is useful in applying henna paste to your hands and skin. Using a properly made henna cone, you can conveniently create a host of designs. The cones are very popular in countries such as India and Pakistan during the wedding ceremonies, as sub-continental women use henna as a traditional alternative to permanent tattoos for body art. If you have henna and need a cone, you can prepare one at home with the help of mylar and a few other things.
Things Required:
– Mylar
– Scissors
– Tape
– Rubber bands


Instructions
-
1
Cut mylar into rectangles
First of all, cut mylar into rectangles about 7 inches long and 6 inches wide. You need to cut these shapes so that they may be formed into cones. The number of rectangular shapes depends on the number of cones you want to make. -
2
Place rectangle sheets on flat surface
The next thing you need to do is place one rectangular sheet on a flat surface so that you can turn it into a cone. You need to take one rectangular sheet at a time. -
3
Roll Mylar to form a cone shape and tape it
First of all, place the top right corner of the rectangular shape on the centre of the bottom line. Once you have done that, roll the piece to the left to form a perfect cone shape. The tip of the cone should be cut with the help of scissors and the hole should be big enough to allow henna to pass. Tape the outer seam of the cone to make sure it remains in this shape. -
4
Fill the cone with henna
Fill the henna paste in from the open area of the cone and stop when the cone is about one-third full. When you have finished adding the henna paste, twist the open end of the cone and apply a rubber band to the area so that it does not open. You can open it when more henna paste needs to be added.


