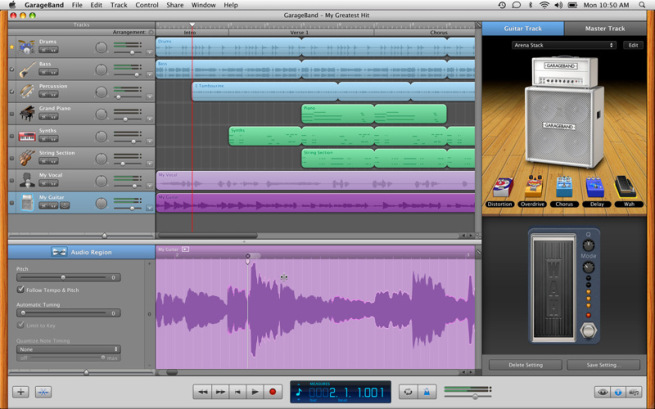
How to Set a Tempo in GarageBand

GarageBand is a great audio editing software program, which allows its users to create and edit audio files. Due to its ability to provide numerous features, it is lauded as one of the best audio editing software programs available in the market.
Setting the tempo is one of its features, which makes it stand different from many others. You can set the tempo, even before you start laying your tracks in the program. You can set the tempo from 40 to 240. Once you set the tempo, you can choose the metronome to be played with your selected rate.
Instructions
-
1
Launch GarageBand and select “New Project” from the “File” menu. A pop-up window will appear on your screen, asking you about the location where you want to save your new music project. Specify a name in the “Name” field. You should always try to use a name which you can remember easily.
In addition to that, select a location where you usually save your music files, so that you can retrieve them later when needed. You can also create a new folder which you can assign to the music files that you create in Garageband. -
2
In the New Project pop-up box, you will see the tempo slider. You can move the slider as per your needs, to set the tempo of your music file. Also, you will have to select an appropriate time signature for your music project. When done, click the “Create” button to create the new project.
-
3
If you want to change the tempo in later stage, you can just go to “Control” options from the GarageBand menu and select “Show Tempo in LCD”. You can now change the value of the tempo, as per your requirements.
-
4
In order to select the metronome, you will have to go to the GarageBand menu and select "Control" options. You will now see “Metronome” option. Click on it to turn it on. You can also turn the metronome on by press Ctrl + U keys on your keyboard.
-
5
Check the tempo of the metronome and if it does not suit your requirements, you can repeat the same process which you used in step three, to change the tempo. Once you are satisfied, you can make further changes to your project and save the file in different audio formats available in the program.


