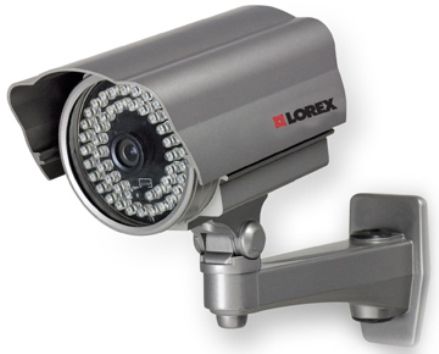
How to Wire a Lorex Color Camera
If you are planning to install Lorex cameras around your house for security and safety purposes, you must know how to wire the cameras properly. It is a fairly simple task. You will just need to run a few wires and make a few connections. Here is what you will need to wire a Lorex colour camera.
Things Required:
– RG-59 compression or crimp tool (for CCTV cameras)
– BNC connectors (for CCTV cameras)
– Wire nuts or electrical tape (for CCTV cameras)
– Wire cutters/strippers
– RJ-45 crimpers (for IP cameras)
– RJ-45 connectors (for IP cameras)


Instructions
-
1
Wiring a Lorex CCTV Camera
Run a piece of RG-59 cable long enough to cover the distance between the CCTV camera and the CCTV DVR. Cut the cable with a pair of wire cutters but remember to leave a few inches on extra RG-59 cable on both ends. -
2
You now have to install a BNC connector on both ends of the RG-59 cable. To accomplish this, first strip the cable to get rid of the insulation. Read the instruction manual that came along with the BNC connectors. Follow these instructions to install BNC connectors using the proper RG-59 compression or crimp tool.
Image Courtesy: saftehnika.com
-
3
Run a power cable from the CCTV camera to the power supply and make connections. Run a second power cable from the DVR to the power supply and make the necessary connections.
-
4
Wiring a Lorex IP Camera
Run a CAT5 cable to cover the distance between the router and the IP camera. -
5
From left to right, arrange the wires in a CAT5 cable following the sequence: white/orange, orange, white/green, blue, white/blue, green, and white/brown, brown. Keeping the wires in this sequence, insert them in RJ-45 connector with gold contacts on the connector facing towards you. Crimp the connector with a pair of RJ-45 crimpers. Follow the same steps to install another RJ-45 connector at the other end of the CAT5 cable.
Image Courtesy: jaysafe.co.uk
-
6
Insert one RJ-45 connector in the router and the other RJ-45 connector in the IP camera. You have successfully connected the IP camera to the router.
-
7
Run power cable from the IP camera to the power supply. You have successfully completed wiring for the Lorex IP camera. Make connection between the IP camera and the power supply.

- BNC connectors (for CCTV cameras)
- Wire nuts or electrical tape (for CCTV cameras)
- Wire cutters/strippers
- RJ-45 crimpers (for IP cameras)
- RJ-45 connectors (for IP cameras)Next%20stop%3A%20Pinterest "Pin It")


