How to Include Captions in Excel Graphs
Statistical information can be created with the help of Microsoft Excel. Different designs are available to us and we can use all sorts of tools to interpret different sets of data available. It is highly unlikely that someone will just use Excel software to store data in it. Data can be stored in other programs as well but Excel is such user friendly software that it helps you to interpret data with different graphical solutions in a span of few seconds.
You can just choose what type of graph you want to create and the graph will be automatically created with a single click. You need to input data and choose different fields. All sort of statistical functions are available in Excel and you can even use user defined functions to run any queries. Graphs are a basic method to represent a data in a form of a picture. However, graph without a caption is like a human without a name. You can use it but you don’t know their identity and anything about them. Hence, captions are an important part of a pictorial representation of data. Readers can easily understand what type of graph and information they can expect from a graph when there is a suitable caption placed above or below it.
Caption can be a chart ID, name of the data sets or anything you want that will describe the graph in a few words. Captions can be added to Excel graphs with the help of text boxes but then you will require having enough room left above or below the graph to make sure that the text box can set in with ease. If you are unaware of the method that can help you automatically set the caption because it is too difficult, you can use the text box style to solve your problem.


Instructions
-
1
Open the spreadsheet in Excel that has the graph in it.
-
2
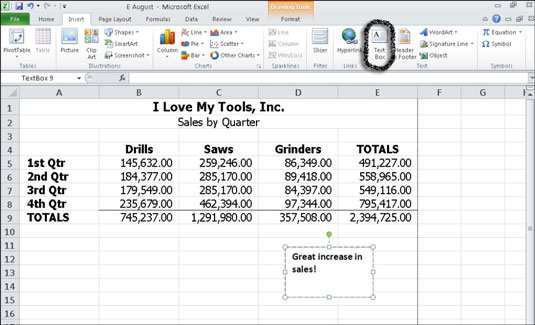
Click the cell above the graph that is empty. On top menu bar, you will find the Insert tab. Click it.
-
3
The new options will appear in front of you. You have to look for the option of Text Box and click it.
-
4
Place the cursor at the empty and drag it in a way that it creates a big enough rectangle in which you can place the caption.
-
5
Write the caption.


