Embossed Wallpaper Ceiling Treatment
Embossed ceiling wallpapers have now become a vital part of the decoration system of any house in this modern era. No room is complete without embossed wallpaper as it looks extremely tidy and alluring, taking in view the aesthetics of the room. One problem that is common to all sorts of these decoration items is that they get somewhat damaged with the passage of time and need constant protection and treatment is required to keep the ceiling in a presentable shape and condition. A number of methods can be applied to give treatment to these wallpapers and some steps need to be followed in a general manner to achieve the right results.


Instructions
-
1
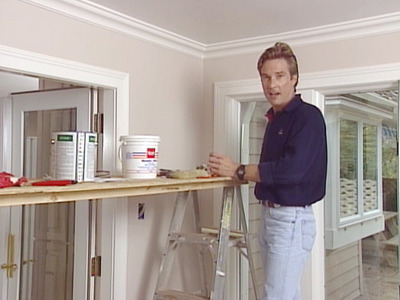
The first step is to set up a worktable. This must be raised and should have adequate length, as this would help in working throughout the process. A short table will require shifting again and again whereas a longer and higher table will be enough to cover a larger area of the room in one stroke.
-
2
Next you will have to prepare the ceiling surface. This must be done by removing any pre existing wall covers. After the removal of these things, you must clean the walls using sandpaper and then apply the adhesive clay based solution on the surface.
-
3
Now test the surface for any loose paint and remove the unnecessary marks via sand paper or any cleansing agent that can wash away the loose paint that is present. Also prime the surface with acrylic primer and let the place dry for 24 hours.
-
4
For applying the first run of wallpaper, you will have to run a straight line chalk on the wall. Make sure that the lines have been marked on the exact locations according to the measurements as they might overlap and destroy the general sense of tediousness of the project.
-
5
Now roll out the wallpaper across the marked lines and hold it in place properly. The wallpaper must not be pressed too heavily as the embossing may get destroyed because of the heavy application of the rolls. Now apply the wallpaper adhesive to the wall covering and let the adhesive set up for 10 minutes time before applying the wallpaper.
-
6
Now you will have to set the wallpaper in place and press it into its place so that it can set where it is supposed to set up. Lineup each strip now and remove any excess wallpaper that is left unneeded. After this just apply the finishing paint to give it a nice look and the process of treatment is now complete.


