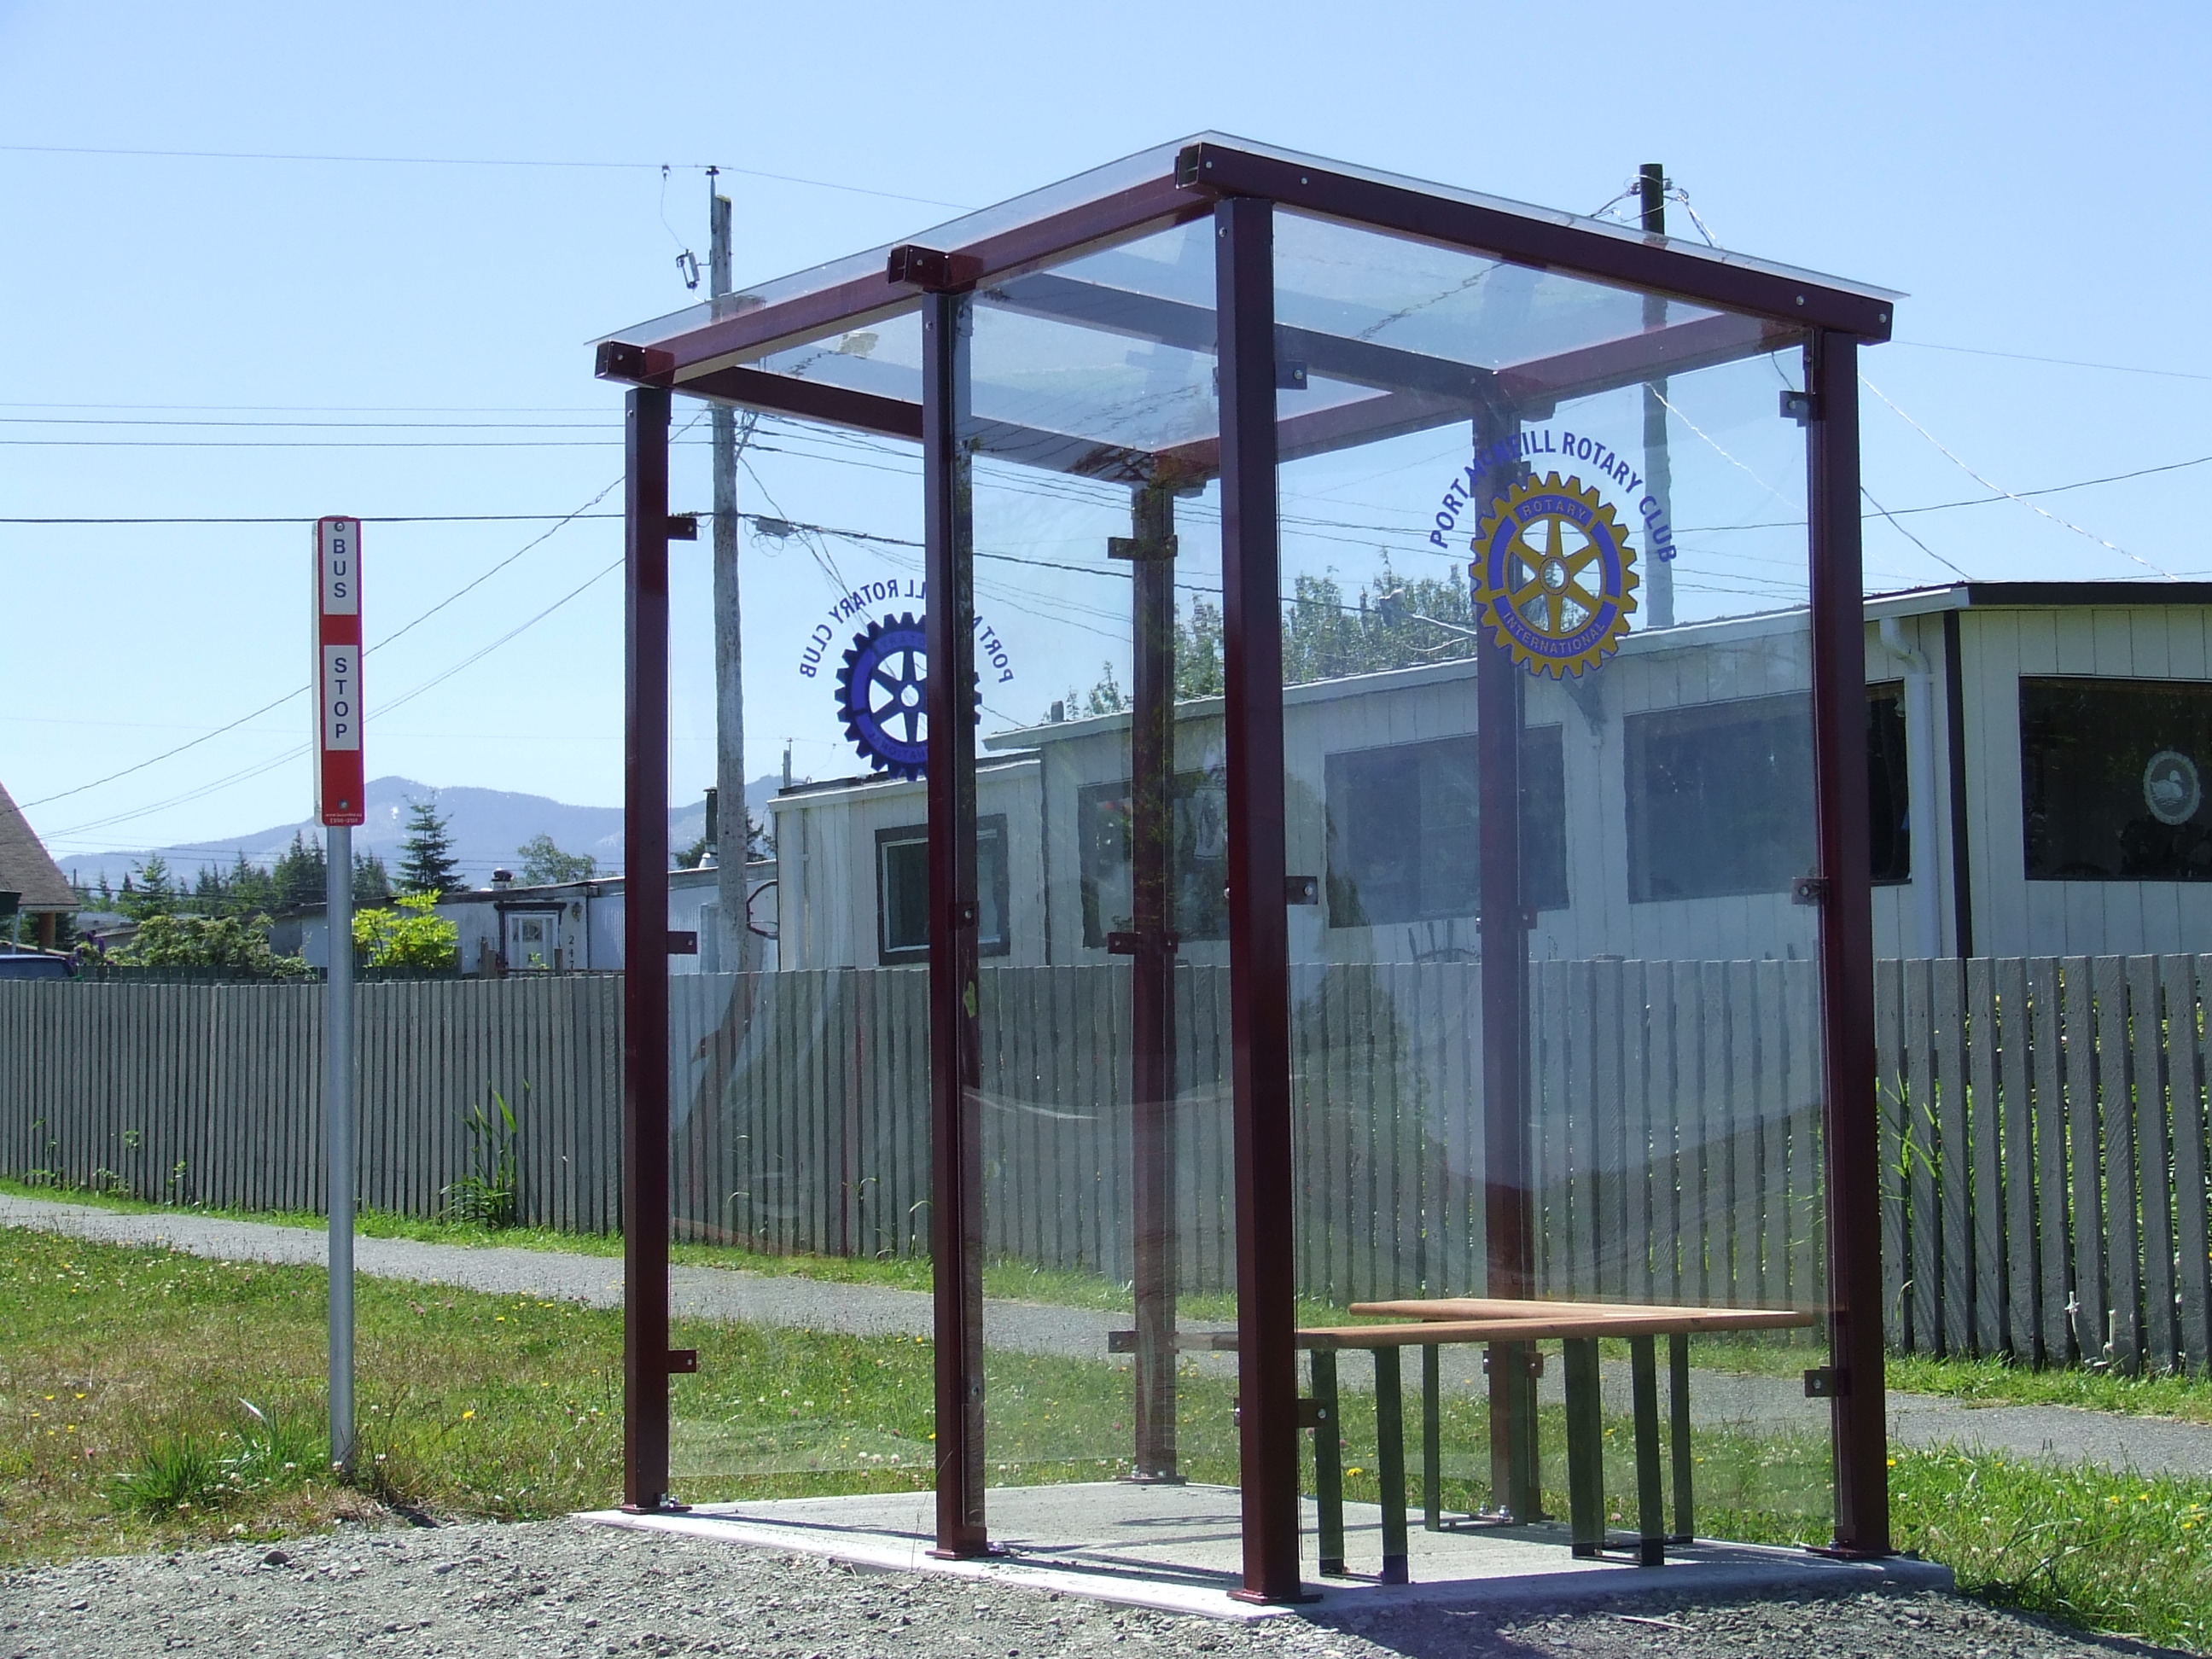
How to Build a Bus Stop Shelter
It is quite possible that your children have to stand alongside the road waiting for the school bus to come every day. Situation might get very scary for them during hard winter cold, rain and snow. You might need to give your children protection from severe weather conditions and building a bus stop shelter will serve a good purpose. If your children stand by the road every morning all alone, any stranger might notice them standing all alone at the same time every day. Building a bus stop shelter for them will also protect them from being exposed to strangers at the same time. You can spare some of your time to build a bus stop shelter for them.


Instructions
-
1
Before beginning to build the bus stop shelter, you first need to determine the type of the shelter you actually need. You have to check out what sort of weather prevails at your location, wind, rain, traffic, storms, snow or animals, all these factors will affect the type of structure you will have to build. You have to decide whether you require to build a simple three-sided shelter or any specific modifications are to be made to it.
-
2
Next comes the determination of an appropriate location to build the shelter. You have to be careful and not violate any building codes while doing this thing. Do not build the shelter too close to the road and if you require any sort of permit before constructing this shelter, you have to obtain it first.
-
3
You need to begin by cementing 4-by-4’s into the ground. You have to make four holes for this purpose; use electric drill machine to dig four holes of approximately three feet deep. These holes need to be four feet apart from one another, making a perfect square.
-
4
Now place 12-foot 4-by-4’s in the front side of the shelter and 10-foot 4-by-4’s at the back side.
-
5
Now affix the 4-by-4’s by pouring 40 pounds of concrete into the dug holes. Pour small quantity slowly into the holes using shovel and add dirt in the end to fill them up completely.
-
6
Now cut 12-foot 4-by-4’s into three equal pieces, with a length of 4 feet. Attach each of these pieces to the both sides and back using 3-inch screws.
-
7
Screw one flush piece to the top of the back and the other one to the adjacently in the front.
-
8
Now attach the sheets of plywood on each side and the back of your shelter using 1.5 inch screws. The more screws you use, stronger will be your shelter.
-
9
The final piece of plywood will be joined at the top of the shelter and that is it!


