How to Build Your Own Thermal Camera
Thermal imaging cameras are extremely expensive but that does not mean you cannot innovate a more than useful variant and achieve acceptable results.
Things Required:
– Developed piece of film negative about the size of a large postage stamp
– Glue stick
– Digital camera preferably a webcam
– Phillips screwdriver
– Flat edge screw driver
– Cutter


Instructions
-
1
Cut the film into two square pieces
The first step involved in making a thermal imaging camera is the cutting of a developed film negative into two square shaped pieces, about quarter in size. The ideal method of cutting the film is with a cutter, but you can also use a fine scissor if the cutter is not available. These squares will be used later on to capture the infrared image. -
2
Disassemble the digital camera
There cannot be an image without a camera. Make sure you use an inexpensive camera, preferably a webcam, because it has to be disassembled. Depending on the sort of screws used in the camera, select either a Phillips or flat screw driver to open up the outer cover of the camera. In case of a webcam, the casing has to be pried open gently. -
3
Remove the infrared filter on the camera
The next step is to locate the camera lens. Just behind it is a device called CCD (charged coupler device), which is responsible for recording the pictures and videos. On the back of CCD, there will be red coloured plastic attached. This is the infrared filter and to make the thermal imaging camera you have to remove it gently. Make sure that the CCD is not damaged while removing the infrared filter. -
4
Replace the infrared filter with the squared shaped negative
Now stick the square cut developed film in the space left vacant by the infrared filter. You can use a light coating of glue for that. -
5
Close the camera casing
Screw back the outer casing of the camera. -
6
Test it
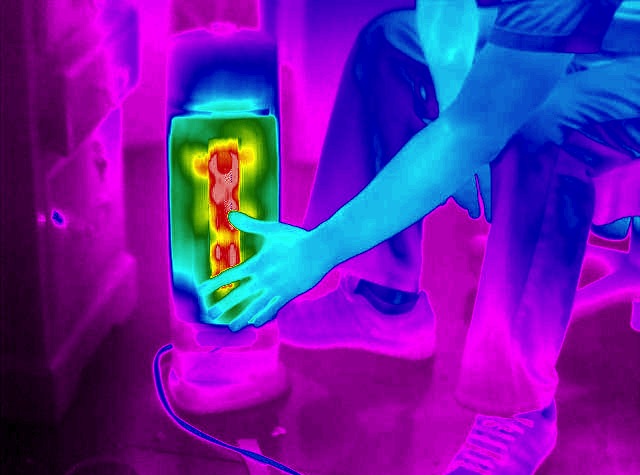
Test whether your camera is giving the required results. Go in a dark room, making sure that there are some people in it and take the picture. The results will be in shades of green, red, orange and yellow, colours indicative of the intensity of infrared rays.


