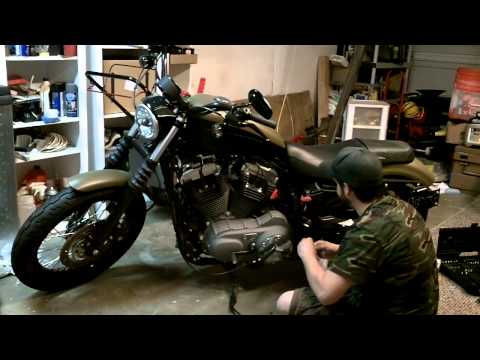
How to Change a Harley-Davidson Battery

As is the case with anything that uses power from a battery, it becomes inevitable to replace the battery of a Harley-Davidson bike after a certain period of time. In order to get an idea of how important a properly working battery is, consider yourself riding the bike on a dark night with no lights just because the battery of your bike is not working. Fortunately, it is very easy to change a Harley-Davidson Battery and does not take too much time.
Things Required:
– New Harley-Davidson Battery
– Wire Brush
Instructions
-
1
Depending on your model of Harley-Davidson, choose the correct battery size. You might have to refer to the bike’s instructions manual in order to determine which battery you will need. Before you buy the new battery, be sure to determine your motorcycle’s cold cranking amps (CCA) as well as the length, width and height of the cavity. This will help you ensure that the battery you purchase will fit correctly.
-
2
Before you remove the old battery, be sure that the engine is turned off. This will ensure that power from the battery is not being consumed in any way.
-
3
Observe the terminals of the old battery and distinguish positive terminal from the negative terminal. You will first need to remove the cable attached to the negative terminal. Once you have removed both cables, check for corrosion on the battery terminals and completely remove it using a wire brush.
-
4
Activate the battery you bought by first removing the new battery’s sealing tube and filling plugs. At this point, you will have to fill the battery with electrolyte. Before you charge the battery, allow at least 30 minutes for the electrolyte to start functioning.
-
5
Allow at least three to five hours for the battery to charge. Be sure to get the first charge correct because batteries that are not charged properly for the first time may never perform properly.
-
6
When the new battery is properly charged, install it by first connecting the positive terminal and then the negative terminal. If you reverse the order, you might end up causing an explosion. Make sure that the terminal connection you made are properly tight. It is important to check the connection from time to time.


