How to Do a Backwards Crossover in Hockey
In order to be good at any sport, one must learn different tricks. Although some of them are not easy to master, yet nothing should be considered impossible and one should never stop trying.
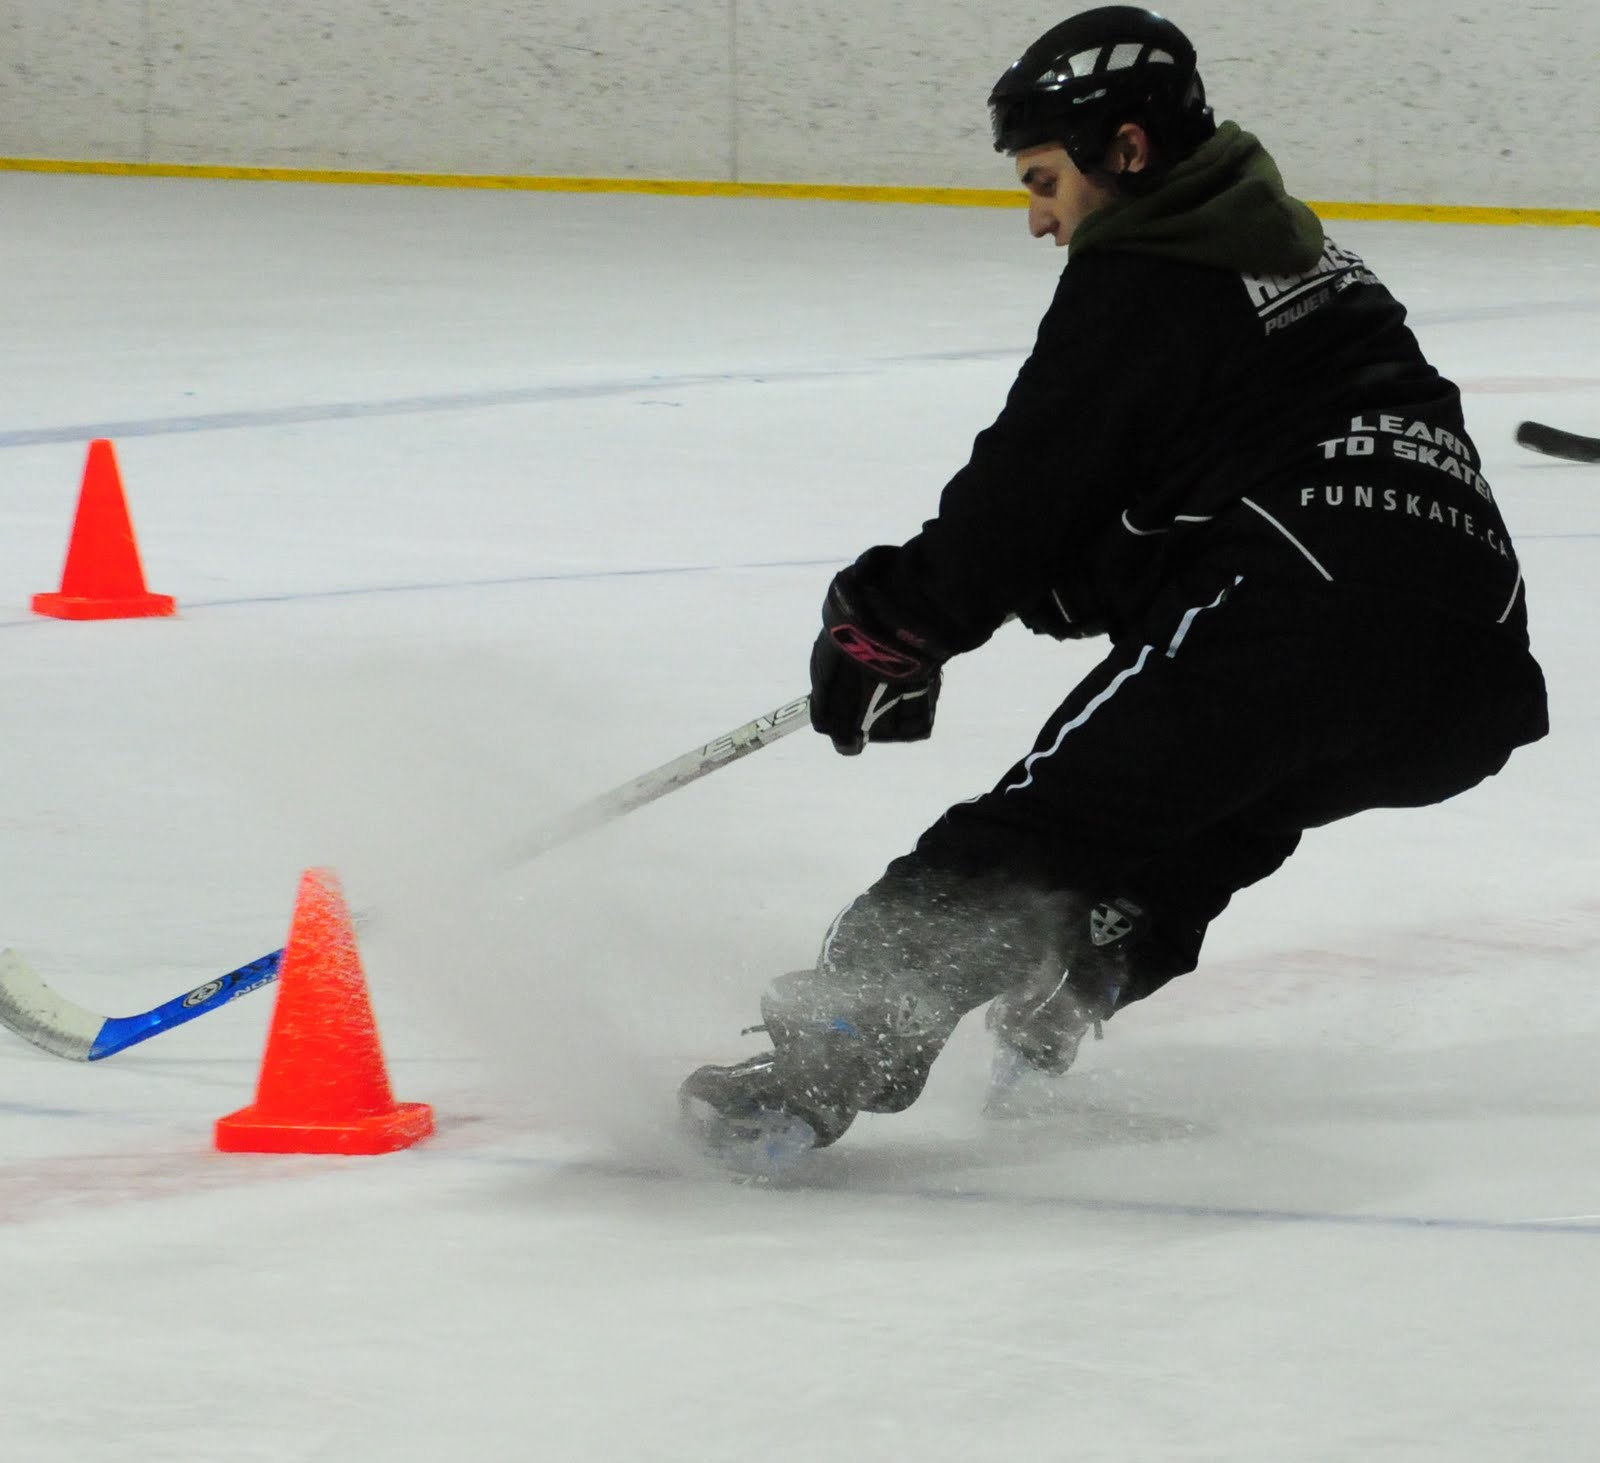
Hockey is loved worldwide, but it is only entertaining when you are a spectator. If you wish to play the game, you will have to work extremely hard to cope with the pressure of the other team.
Moreover, a hockey player needs to balance his/her body perfectly in order to make an impact in the match. One of the most effective hockey techniques is the backwards crossover, which helps in taking defensive action in the match. However, you should practice it hard in order to make the application possible otherwise you might end up losing the match and injuring yourself too.

Instructions
-
1
Get into position
First of all, you should position yourself correctly in order to create a good balance. Your weight should be distributed equally in both legs, which is the key to gain solid momentum during a match. Moreover, you are supposed to keep your knees bent in order to make the control better. Another thing, which will help you develop more speed, will be keeping the legs at a shoulder width apart. -
2
Lean into position you wish to crossover
Once you get comfortable with the skates, you should now try getting into the position to do the backwards crossover. For this, you will need to lean towards the leg, you wish to crossover. You can do it on any leg, depending on the space you have on either sides.
If you see an equal chance of leaning on both legs, you should go for the one, which you feel is stronger compared to the other. However, make sure you don’t get confused while making the move, as that will cost you time. -
3
Lift one skate over the other
After deciding on where to go, you should lift one skate over the other in order to transfer the weight to one side. Make sure you do this process smoothly, as it will help you execute the crossover successfully. -
4
Transfer entire weight to one leg
Once you have transferred entire weight onto one leg, your move will be completed. However, you will have to make sure that you get into normal position easily and gain momentum for your next step.

