How to Fix an Acer Disk Read Error
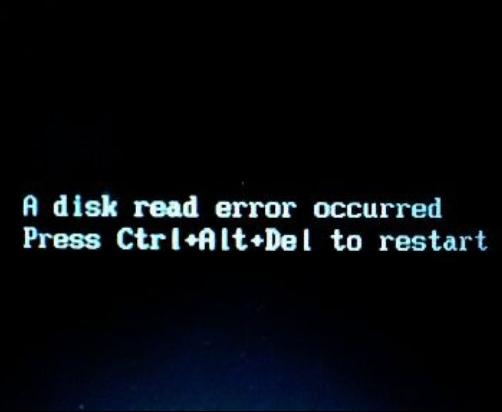
When it comes to purchasing a low-priced notebook, then nothing can be better than to choose from Acer series of notebooks, as they are best known for portability and low prices. However, sometimes it happens that you encounter a disk read error and it becomes really difficult for you to perform some basic functions on your computer. At that point, system recovery becomes almost essential, in order to fix the problem. The system restore process allows you to restore your computer files to a specific date time. Acer computers contain auto-recovery option, which you can access easily at system start-up screen.


Instructions
-
1
Turn on your computer and wait for the Acer logo to show up on the screen. At that time, you need to press the "Alt" and "F10" keys at the same time, in order to enter the recovery module of your Acer computer.
-
2
You will now be allowed to perform a disk repair process using the Windows automatic recovery system. Once the process is started, it will take some time to analyse the restore points available on your disk. Windows automatically creates system restore points when you use computer, so that you can restore your computer when needed.
-
3
Once the automatic system recovery checks for different time and dates available for the system restore points, you should select the most recent one, in order to get your disk fixed, while losing less data and changes.
-
4
Press the “Enter” key after you select a system restore point, and your computer will be restored to the same condition as it was on the stated date and time. You can now check if the computer works properly.
-
5
If you still face the same issues, then you consider selecting a previous date and check again. If your computer works well, then you are ready to use your computer again.


