How to Get Photos to Match Your LCD
Getting prints to match your LCD screen can be frustrating. It requires you to work really hard on the pictures, and you must have the basic knowledge about the basics of using image editing software programs. If you manage to match your photographs with your LCD, then you will certainly be able to improve the quality of your prints. Initially, the process may appear really tricky, however, you can master it by practicing constantly.
Things Required:
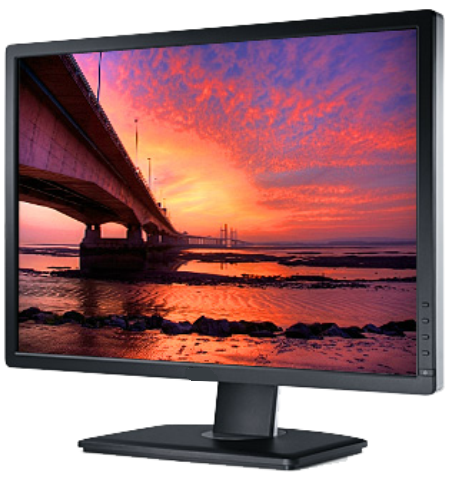
– LCD monitor with colour (temperature), brightness, and contrast controls
– Computer
– Image editing software


Instructions
-
1
Turn on your LCD monitor. Disable any screen savers and make sure your monitor will not be into standby mode. Allow your LCD to warm up for at least 1 hour. Without warming up your LCD, it will be really difficult to match colour schemes.
-
2
Connect your camera with your computer and transfer all the pictures that you want to take prints of. If you are doing this for the first time, then your computer’s operating system will take some time to install drivers for your camera.
-
3
Locate your monitor's display controls. (Controls can usually be located at the bottom of your monitor. Others generally have them on the side)
-
4
Set your colour temperature to 6500K. You can usually locate this control under "Colour" or "Colour Temperature".
-
5
Reduce your brightness level to 0 (as far down as it will go). Reduce your contrast level to 50% or whatever your halfway point is.
-
6
Edit your photos to your liking. Take your edited photos to a lab of your preference. Try to get your prints at the same place every time. Every printer will print differently.
-
7
Request that "auto correction" be turned off. If you have heavily manipulated your photos and auto correction is on, your prints may appear over-saturated.
, brightness, and contrast controls
- Computer
- Image editing softwareNext%20stop%3A%20Pinterest "Pin It")


