How to Install a Second Hard Drive
Sometimes, one hard drive does not seem to be enough for the user, especially if he/she wants to store more media on the computer. Then there are some people who are fond of playing games on their system and need extra storage space. In order to get that, they look to install a second hard drive on their system.
The process of installing a second hard drive on your computer is quite an easy one, yet people opt to take their system to a specialist in order to get the job done. Consequently, they end up wasting quite a lot of their money and time. Therefore, it is better to perform this task by yourself.
Things Required:
– Phillips screwdriver
– Tweezers
– Hard drive
– Computer


Instructions
-
1
Unscrew tower panel
In order to install the second hard drive, you don't need to remove all of the panels. Simply unscrew the back of the tower on the right side; remove the panel and reveal the area where you need to connect the hard drive.
-
2
Remove the jumpers
Look for the removable pins, known as jumpers, on the back of your hard drive. They need to be removed from there and set into the ‘Slave’ position. You will not find it easy to get those pins out with bare hands easily, and might need a pair of tweezers.
-
3
Secure the hard drive
After you place your hard drive inside the tower, you need to secure it with the help of screws, which are generally provided with every new purchase.Set up the drive in the given space, near the IDE and the power connectors.
-
4
Insert power connector in the hard drive
There will be a flat, white end attached to the power connector. You need to insert it into the small pin section into your hard drive.
-
5
Connect the IDE cable
Now you need to connect the IDE cable to the hard drive, which is probably the most difficult task. There will be three connectors with the IDE cable, out of which the first should be plugged into the motherboard whereas the other two need to be connected to the two drives you have now.
-
6
Put the panel back
Put the panel back once again and switch on your computer to enjoy the extra storage space.
-
7
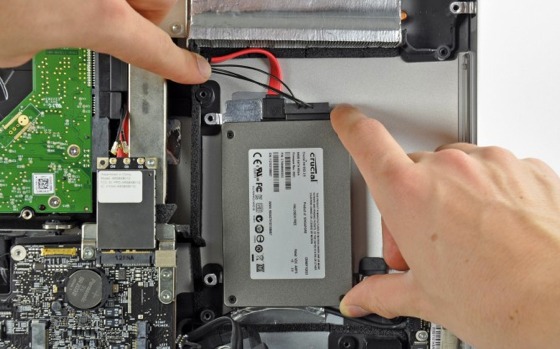
For SATA drive
The new systems support the Serial (ATA) drive, so you will have to change the process to some extent in that case. Once you have opened the panel, you will find the SATA cables, which are flat and most often in red. Plug one cable to the board and the other to the hard drive. In case of SATA, you will not be required to change the jumpers, thus the process is easier. Finally, connect the SATA power cable and start your system.


