How to Install Acoustical Wall Panels
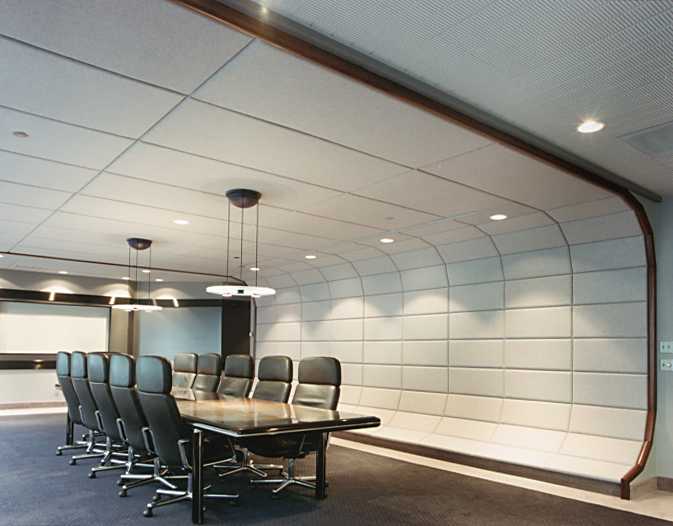
Acoustical panels are fitted in rooms to make them sound proof. These panels are designed in such a way that they reduce the noise coming into the room significantly, while also restricting the amount of sound that leaks out of it. These panels actually prevent the bouncing of sound off the surface of the wall, thus reducing the echo element. These panels are commonly used in offices world over, specifically in and around the meeting rooms.
These panels can also come in handy at home, especially if you want to install a sound system in your home or have a sound studio.

Instructions
-
1
Place the acoustic panel on the surface of the floor in such a way that the back of the panel is facing towards you. Measure about 6 inches space from the top and bottom corners of the panel and also from the right and left sections. Mark the spots with a pencil and use a connecting scale to join all these points to make a rectangular figure.
-
2
Move along the line, starting from one end, and mark the centre points of all these four lines drawn.
The exact distance from the side of the panel to the line actually depends on its size, however, 6 inches is considered the regular or normal length in the case of acoustical panels. -
3
Fix two clips to the back of the panel if you want to fix it to a wooden rectangular frame. Measure about 4 or 5 inches from the bottom side of each panel and mark it with a pencil. Again use a ruler to extend the point till the end of the panel.
Remember to mark the midpoint at the centre of the bottom line on each panel. Attach a clip at the centre of each line, and fix 3 / 4 inch screws over each clip. -
4
Locate the distance between two adjacent clips on the top side of the panel with the help of a measuring tape. After carefully measuring the distance, note it down on a piece of paper. Make sure that these marks are perfectly aligned with the help of a builder’s level. Screw the clips to the wall with the help of wooden screws.


