How to Install Cherry Wall Railing
Are you planning to give a new refreshing look to you room wall? If yes, then you should seriously think about installing cherry wall railings, as they are easy to be applied on the wall panelling and enhance the overall look of the room. One might think that it will take a lot of time to install cherry wall railings, along with the costs involved in the whole process. If you think the same, then you are absolutely right. However, you are wrong at one thing, and that is if you do it yourself, then you still have to incur huge costs. Spending too much money to ask the professional to come to your home and install the cherry wall railings will not be a wise thing to do, especially when you can do it yourself. It will save you a lot of money, which you can save for some other time or any other decoration you want to add to your room.
Things Required:
– Sealer
– Safety glasses
– Tape measure
– Pencil
– Laser level
– Compound mitre saw
– Rubber gloves
– Roller
– Impulse nailer


Instructions
-
1
If you want to have a nice seam, then you can cut the rails with some angle. You can use the compound mitre saw to set the angle to 45 degrees. Thereafter, cut the edges of the rails to give them a look of bevelled cuts. It will not only add beauty to the shape of the rails, but also, it will increase the life of the rails. Usually, rails with sharp corners get broken with a slight hit with anything. Therefore, the bevelled edges will stop the rail from any damage.
Image courtesy: diynetwork.com

-
2
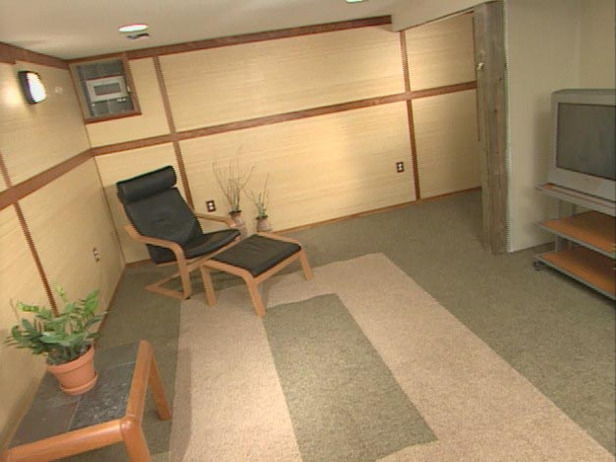
You can now measure the stud locations and mark them properly, where you will use the impulse nailer to nail the rail with the studs. Take the laser level and use it to place the rail over the seam of the wall. Make sure all the sides of the rail are properly levelled. Otherwise, you will end up giving a tilted look to the rails.
Image courtesy: diynetwork.com
-
3
You can now take out the impulse nailer and use it to nail the rail with the panelling of the wall. Make sure you nail at the marked areas properly.
Image courtesy: diynetwork.com

-
4
You can now apply a coat of sealer, which will help in protecting the wood. Moreover, it will also add shine to the panels applied.
Image courtesy: diynetwork.com


