How to Install Shower Plumbing
If you didn’t design your bathroom to support a shower, it doesn’t matter. You can still install plumping for shower afterwards. You can perform this task by yourself, without seeking any expensive professional assistance. Not much technicalities are involved in installing shower plumbing and you will find fun in doing this job.
Things Required:
– Hacksaw or any other pipe cutting tool
– Hammer
– Plastic pipe
– Cement solvent
– Shower fittings


Instructions
-
1
Before starting the installation, you have to turn off the water supply. This may involve shutting off water supply to the entire house but it is necessary for installation to begin.
-
2
You will require a dry area to work and hence, open out any faucets in the bathroom to allow water drain out from the pipes.
-
3
You should also be aware of where the drain and water pipes are located in your bathroom. If you already have a bathtub there, they must be around it somewhere. Otherwise, you have to locate for them.
Image Courtesy: elocalplumbers.com
-
4
Once you have discovered where the existing pies are located, you have to expose the plumbing. You will need to cut the floor and wall area to expose the existing plumbing before you can begin with actual installation of shower.
Image Courtesy: terrylove.com
-
5
Determine the cold and hot water pipes in the plumbing. You need a hacksaw or any other suitable pipe cutting tool to get access to those pipes.
-
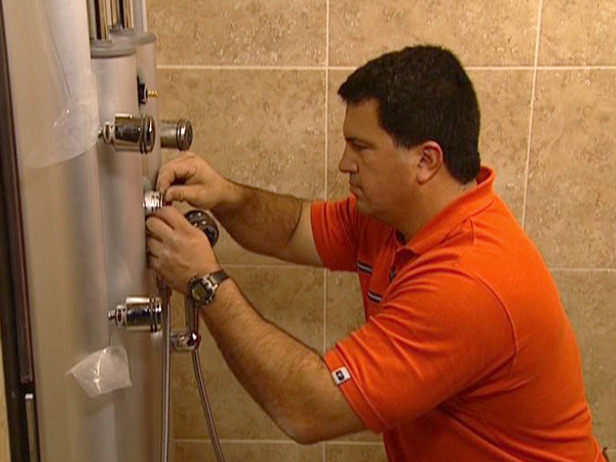
6
Now you have to split the water supply and a ‘T’ fitting will serve the purpose of it. Mark out from where you have to take out the water supply by adding new plumbing for the shower.
Image Courtesy: checkeredflagplumbingco.com
-
7
Cut the pipes from the marks you made by using a hacksaw. Smooth out the ends of the cut pipes using sandpaper and clean them afterwards.
-
8
Now measure the distance between the water supply and the point where you desire to install your shower. A plastic pipe will be required to take water from the supply to the shower. Use a fine-tooth saw to cut the plastic pipe carefully.
-
9
You will need to add as much ‘T’ fittings and additional pieces of pipes as needed.
-
10
Apply decent quantity of solvent cement to the pipe ends and fitting, covering them completely, and then join them together firmly.
-
11
Next you have to install the drain pipe. Once it is been positioned, you will have to install the riser pipe. Make sure you have set up any necessary length of pipe between the drain pipe and the riser pipe. Installing the riser pipe is quite a simple task and you can follow the instruction manual which comes along it.
-
12
A pipe fitting with a 90 degree curve is to be fitted at the last, bringing the pipe out through the wall and connecting the shower faucets and head.


