How to Make a Checkbook Cover
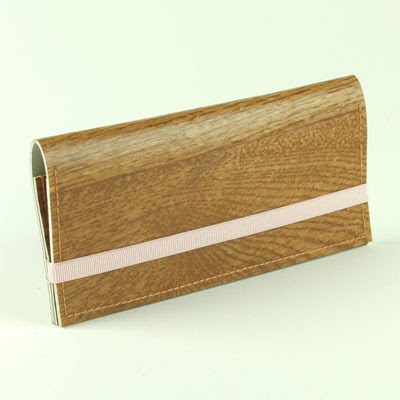
Banks usually give out free soft checkbook covers when you start a new current account or order replacement checks from them. Better materials and leather checkbook covers are available in most retail stores. If the available designs, materials and styles of pre-made checkbook covers are not tempting to you and you have some stitching skills, you can design and create the checkbook covers yourself. Personalised checkbook covers create odd yet practical gifts. Luckily making checkbooks at home is extremely easy even though you will be required to follow some simple tips and techniques to get started.


Instructions
-
1
Before doing anything else you will need to make sure that you have what it takes to successful make checkbook covers at home. Being patient and attention to details will help you achieve precision and accuracy. Now, consider cutting two, 8 by 16 inches wide strips from the material of your choice. Fabric, plastic and newspaper are some of the most popular choices. Cut one, 8 by 16 inch rectangle from both inner and outer covering material for your personalised checkbook.
-
2
Next hold the fusible webbing to the wrong end of each rectangle made from the material. Follow the company's guidelines for your exact webbing, to follow fusible webbing. Cut any sides of webbing that hang over the sides of the material. Now place the two cut strips parallel to each other. Use a machine for stitching the long part sides of your customised checkbooks together, using the joint allocation.
-
3
Now turn over the covers to make sure the right sides are facing. Apply pressure to make sure all lines of stitches are flat. Use an measuring tape to measure 3.5 inches wide from each of the smaller sides, tagging the dimensions with a vanishing pencil. Take another measurement tagging .5 inches wide in on each shorter side.
-
4
Use a surger to finish the short ends. Make a crease at the half inch reading while folding each short end inwards. Again apply pressure on the sides and cut off the sides. Position the outside of your checkbook cover and consider sewing about an inch wide line along every smaller sides.
-
5
Fold each end in, creating the wrinkle at the 3.5 stitching line. Apply pressure on the sewing line. Make a crease on the cover at the half way point and join all loose threads. You can make these checkbook covers for yourself or as gifts. If you want you can also make a nice box to put these checkbook covers in and wrap with gift wrapping paper.


