How To Make Decorated Mini Kraft Boxes
Kraft boxes in different sizes get stuffed in your storage rooms whenever you buy anything or someone gives you presents. They do not seem pretty enough to decorate on your shelf or put something useful in it. The only thing you can do to make it useful is beautify them by using different methods. The only thing you need is a creative mind.
Things Required
– Designed or printed paper sheets
– Tacky tapes
– Glue stick
– Scissors
– Ribbons
– Glitters

Instructions
-
1
Get a Kraft box of your own choice which you would like to put on your table or shelf. Then opt one from already designed sheets that are easily available in market. Measure the shape of box and cut the sheet according to that, slightly bigger than the actual size so that it will cover the lid of the box properly.
Image Courtesy: etsy.com
-
2
Stick the sheet on the lid, and then cut off the excess part of sheet from the lid. Repeat the same process with bottom and sides of the box. Check all the sides to make sure you cannot see the brown part of the box. You can also go for the plain coloured papers for sticking at bottom and sides to get a contrasting theme. If you have a purple sheet with pink dots on it, then use plain pink paper as your base of bottom and sides. It looks decent and will not seem overfilled with designed patterns. Be careful while choosing from your base and lid sheets, this will show your taste of beautifying things.
Image Courtesy: ginatepper.com
-
3
At the edges of the lid apply tacky tapes to get some shimmer. Apply it carefully and do not add it at some other place just for adding more embellishments to your box. Keep it simple and avoid sticking too much things on it.
Image Courtesy: fatanimal.net
-
4
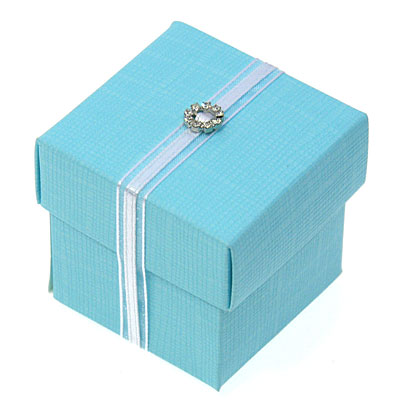
Use glitters just to make spots on the sides of the box, or you can even write something on it, like your favourite quotes, or if you are giving it as a present write some good words about that person. Once you finish decorating the box, fill it with chocolates, cosmetics, or the gift you have planned to give to someone. In the end tie a ribbon on it or you can also use a piece of net to cover it overall.
Image Courtesy: goddesshobbies.blogspot.com


