How to Make Origami Boxes
An origami box is extremely simple to make and can be used to hold your stationery, candy or other important light-weight possessions. This box is called Masu in Japanese, which means a square wooden box. However, this special box is not made of wood, but paper. The person making this box needs to make sure that he/she has the perfect size paper or miscalculations could lead to a disfigured box. Follow some easy guidelines to make Origami boxes.
Things required:
– A square sheet of paper (make sure it is square and not rectangular).

Instructions
-
1
Take a sheet of paper, fold it in half and unfold it to leave behind a crease. This come in handy later when the paper's back side needs to be folded through the lines left behind by these temporary folds.
-
2
Fold the paper in half on the other side and unfold it, leaving behind a cross-shaped crease.This will have the same effect as the first step as you are basically making guidelines for your folds.
-
3
Diagonally fold the paper in half and unfold it again.
-
4
Fold the other diagonal side of the paper and unfold. The two diagonal folds will leave behind eight creases, which will be used later when the back side of the paper needs to be folded.
-
5
Turn the paper and reveal the other side.
-
6
Now fold the paper according to the creases which you have made in the first four steps.
-
7
Grab the corners of the triangle of one side and fold them both so they meet each other at the centre line.
-
8
Fold the corner of the shape made and join them at the centre.
-
9
Fold the top corner of the shape made and take it downwards.
-
10
Tuck the flaps inside the pockets that have been made.
-
11
Turn the paper to reveal the other side.
-
12
Grab the corners of the triangle shape and have them meet at the centre line.
-
13
Fold the edges until their tips meet at the centre line.
-
14
Fold the upper layer and the top corner.
-
15
Tuck the flaps inside the pockets, just like you did in the tenth step.
-
16
Hold the paper flat.
-
17
Blow air in the small space left right at the tip of the paper.
-
18
Once the air has been blown, the origami box will start taking the proper shape. Make sure you are not holding the paper tightly when you are breathing air into it. It will make it hard for the box to take the shape it needs and it might end up getting torn apart or disfigured.
-
19
Once the box is in shape, try to fix the areas which are not properly shaped or the ones which are disfigured. Try to be extra careful when you are giving a shape to the box as a little pinch might leave behind a hole.
-
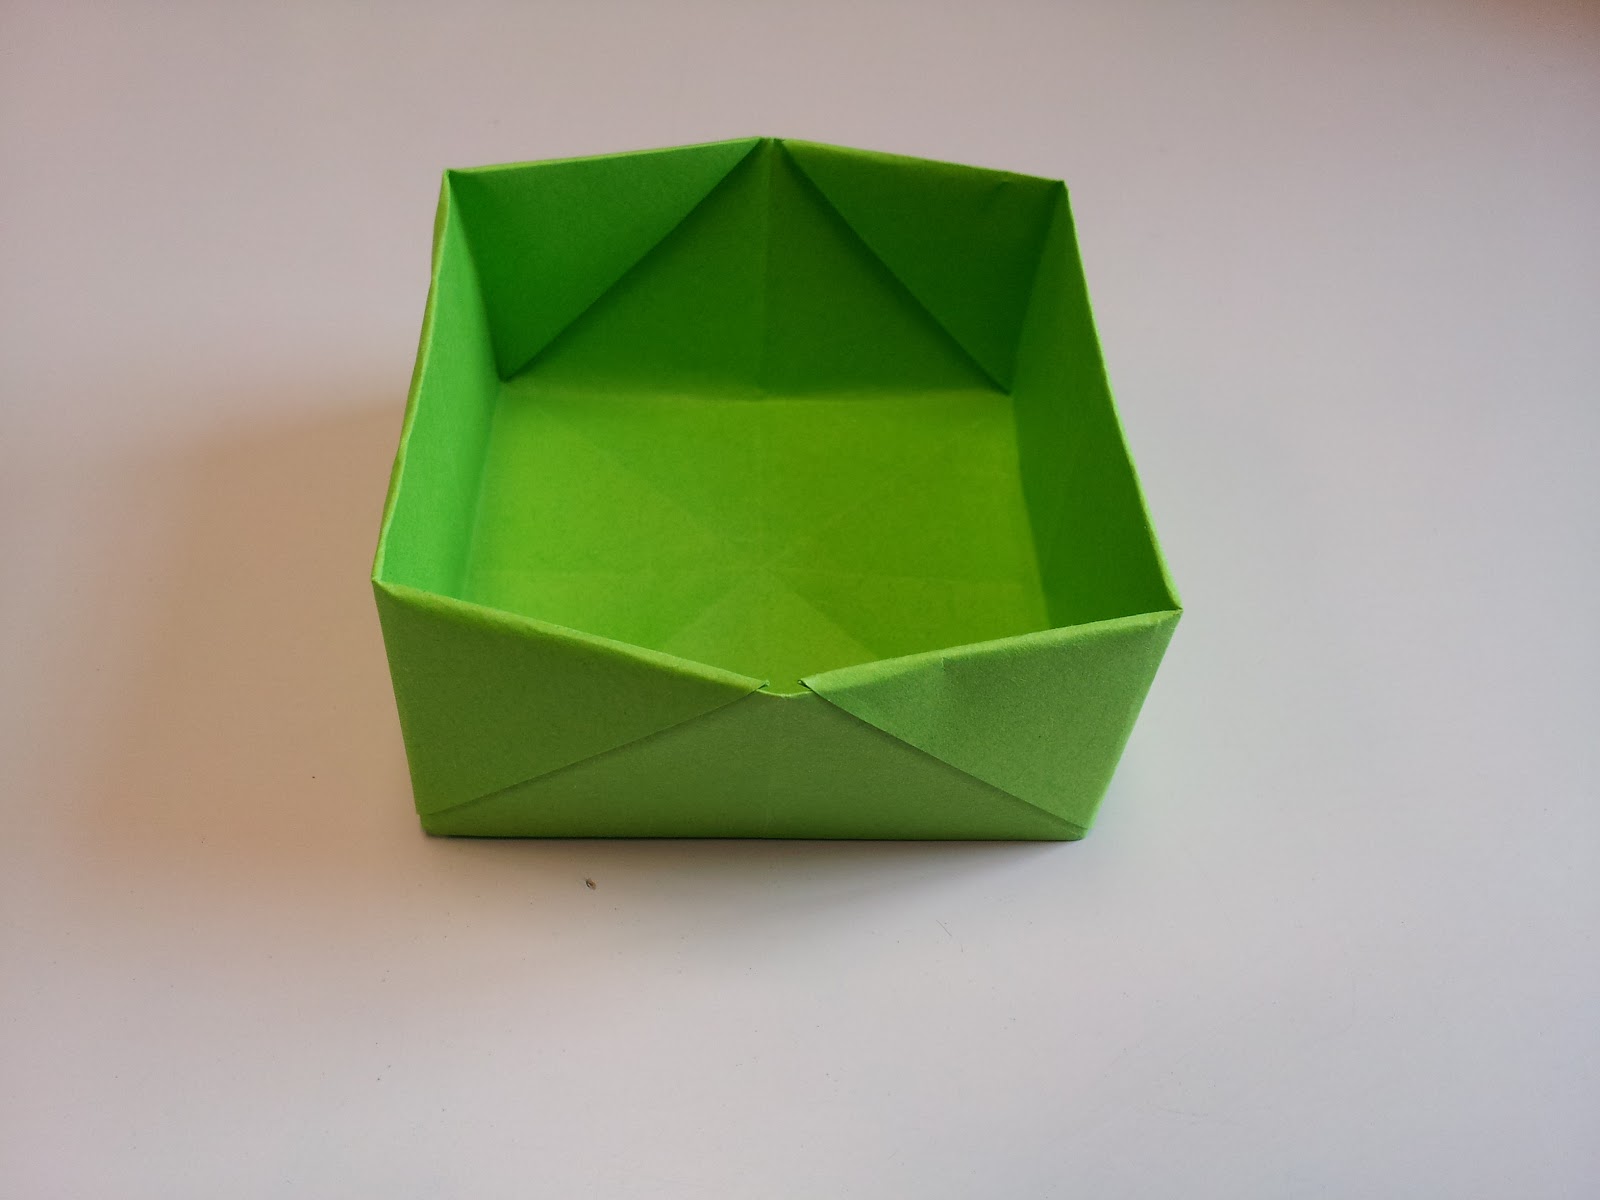
20
Congratulations as you have successfully made an Origami box.
.Next%20stop%3A%20Pinterest "Pin It")
