How to Remove a Blemish From a Photograph
Some people tend to develop a skin blemish almost every time photo shoot is just around the corner. However, with the evolution in the art of photography, it has become possible to remove blemish from a photograph very easily. You will have to make use of a computer programme such as Adobe Photoshop or Corel Draw for this task. As long as you are know the right way to edit a photograph in a photo editing programme, removing blemishes from a photograph should not be too much of a problem.


Instructions
-
1
Launch a new session of the photo editing software which you plan to use to remove blemishes from the photograph. The programme may be Adobe Photoshop, Corel Draw or any other photo editing software.
-
2
Click ‘File’ followed by ‘Open’. Browse to the location on your computer’s hard drive where the photograph from which you want to remove the blemishes is saved. Click the photograph icon and then click ‘Open’ on the dialogue box.
-
3
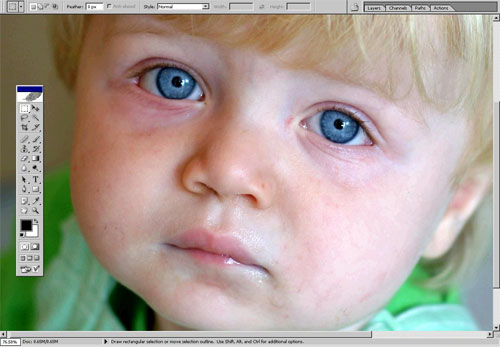
From the photo editing toolbar, choose ‘Eye Dropper’ tool. The toolbar should be located either on the top or left of the software screen. Using the Eye Dropper’ tool, you can select a colour that you wish to use.
-
4
You will need to work on one blemish at a time. Select a blemish that you wish to remove from the photograph and click on the skin area directly adjacent to that blemish with the ‘Eye Dropper’ tool. The ‘Eye Dropper’ tool will pick the tone of healthy skin.
-
5
From the toolbar, select the ‘Paint’ tool and set the paintbrush to the lowest possible level by clicking the option labelled ‘Paint Size’. The idea behind setting the ‘Paint’ tool at the lowest possible level is to edit only the blemished photograph area.
-
6
Move the cursor and position it directly above the blemish that you plan to remove. Click and hold down the mouse button for a while. The ‘Paint’ tool will transfer healthy skin tone to the blemished area. Repeat Steps 4 and 5 to get rid of all other blemishes.


