How to Remove a Sun Visor
Sun visor provides protection from harmful radiations while you are driving your vehicle. It also allows to escape the glaring sun. If the sun visor in your vehicle has been damaged during repair work or if you want to replace it with a new one, you will have to remove the old sun visor.
In most cases, this is a fairly simple task. Using a flat headed screwdriver and a Phillips head screwdriver, you can easily remove a sun visor without damaging it.


Instructions
-
1
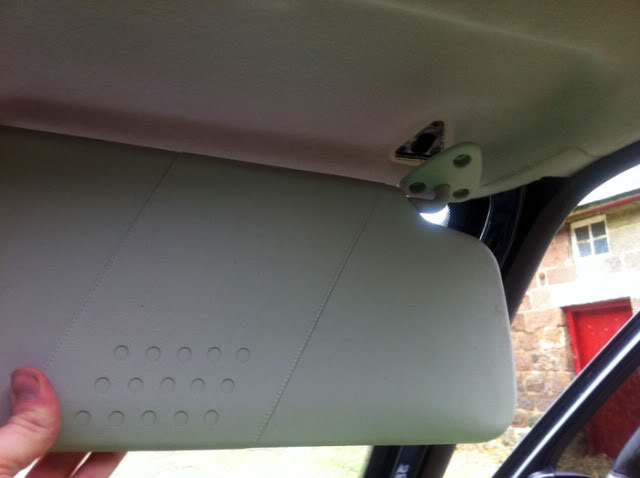
Almost all sun visors are installed on a mounting bracket. In order to safely remove a sun visor, you just need to unscrew the mounting bracket. Locate the mounting bracket; which is behind the visor itself.
-
2
The screws holding the mounting bracket in place may be hidden beneath a cover. Gently pry up the corner of that cover with a flat head screwdriver. Remember that plastic used in manufacturing the cover is fairly thin. To avoid damaging the cover, do not apply too much pressure when you try prying it up.
-
3
The screws holding the bracket in place will become visible when you pop off the plastic cover. While holding the visor with your arms, remove all the screws with a Phillips head screwdriver. Each screw will simply detach after it has been completely unscrewed. If that does not happen, budge out each screw by applying a small force with the screw driver. Put away the screws in a place where you can easily find them again.
-
4
After the screws have been removed, the sun visor should simply fall off. If that does not happen, tug it downwards gently to remove it along with its mounting bracket.
-
5
Put the visor away in a safe place. You have successfully removed the old sun visor from your vehicle and can now go ahead and install a new sun visor.

