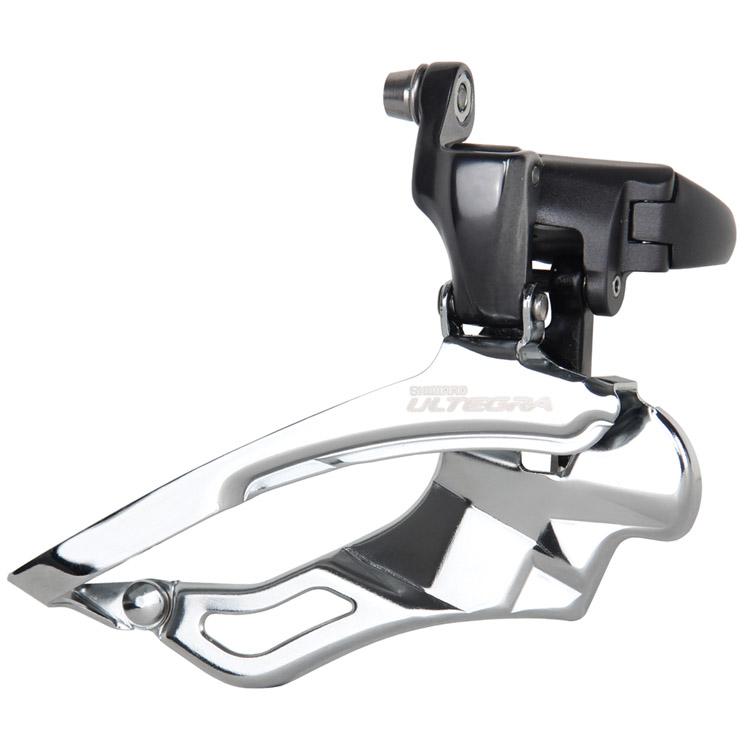
How to Replace the Front Derailleur Cable on a Shimano Ultegra
In order to have a safe and enjoyable cycling, it is important to have an accurate and responsive gear-shifting in the bicycle. The shift cable is a vital clog of the gear shifting system so having a strong shift cable is essential. If your derailleur cable has broken stands or when it has become frayed, it is better to replace the cable in order to avoid any potential risks. And, even if you feel that the cable is alright, it is good practise to replacing it regularly. This habit will ensure accurate and responsive shifting and will keep you away from all kinds of hazards.
Instructions
-
1
The first thing you need to do is to remove the old cable. In order to do that, you can loosen the cable and then shift the chain to the smallest rear cog and smallest front chain ring.
-
2
You can take help of a five mm hex key in order to loosen the cable fixing bolt which is located in front of the derailleur.
-
3
In order to cut the cable at the cable end-cap, use a cable cutter.
-
4
Then, take the cable out of the fixing bolt, out of the cable routing on the lower side of the bottom-bracket. When you do that, make sure you remember how the whole cable was routed as when you start fixing the new cable, you will easily re-trace the same route.
-
5
Now, pull the brake-lever and keep it that way towards the handlebar. You can do this either by a hook and loop strap or by a thick rubber band.
-
6
Now, take the cable out of the access hole and pull it through the cable head.
-
7
Now, it is time for you to install a new cable. Make sure that the new cable’s length matches that of the old one.
-
8
To cut the new cable, use a cable cutter. You can note the exact length of the old cable in order to have the new cable of the same size. Note that on end of the housing, there will be a “Shimano” marking.
-
9
Use the access hole located on the lateral side of the shifter and insert the new cable and pull it from the frame side.
-
10
Now, put in a ferrule and do the same thing with the cable housing.
-
11
At the other end of the cable housing, insert another ferrule.
