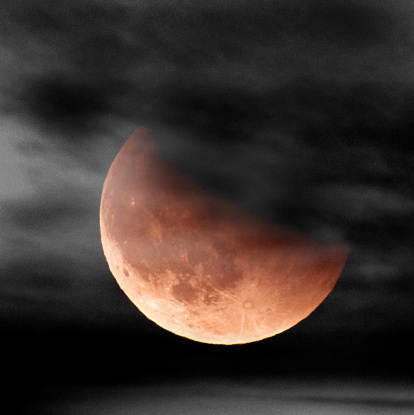
How to Shoot Lunar Eclipse
Lunar eclipses can get you some wonderful pictures and to make sure you get some extraordinary images, you need to follow some guidelines. These guidelines include finding the best place to shoot the eclipse first. You must select the most appropriate place for the shoot where you can clearly see the sky. Set the tripod and take some test pictures for your own satisfaction. You must determine which angle is best for you so that you set the tripod accordingly.
After you have completed the settings, take sequential images of the eclipse and upload all the images to your computer.


Instructions
-
1
Find the right spot
You should be prepared in advance as you will have minimal time to shoot the lunar eclipse. First of all, find the right spot to shoot the eclipse. You will have to identify a place in your house that has the best view of the eclipse. Make sure the area that you choose a flat surface as your tripod must be stable during the shoot. You should also find a place where there is no danger of rain. -
2
Setup the tripod
Fix the tripod on a flat surface so that there is stability when you shoot the eclipse. You should prepare for the shoot in advance so put the lens on and make sure you zoom out the lens so that you get a clear picture of the moon. -
3
Capture test images
After setting the tripod, it is important that you capture some test images to determine whether the camera is set in the right place. You should set the timer so that the camera does not shake when you press the button in the manual feature. -
4
Take sequential pictures
When you have set the timer at a specific time period, make sure you take sequential pictures of the lunar eclipse. It is good to start before the eclipse begins and keep taking shots until the view ends. Make sure you get a picture every few minutes so that you can determine a proper sequence. -
5
Upload images
When the eclipse ends, upload all the pictures to your computer instantly to avoid any loss of images from the camera.


