How to Use QuickTime to Capture Video

QuickTime, developed by Apple Inc, is a great multimedia player that allows you to capture video, audio and panoramic images. Because of this media player, Apple’s Macintosh has been able to make an important place in the multimedia authoring industry. Nowadays, it has become the most widely used desktop item, just like Adobe Postscript type and laser printers. This step by step guide helps you to use QuickTime Player to capture video and avoid streaming videos. In order to perform this task, you need to have at least Mac OS X 10.6.8.
Instructions
-
1

-
2
Click on the "File Menu" and the "New Screen Recording"

-
3
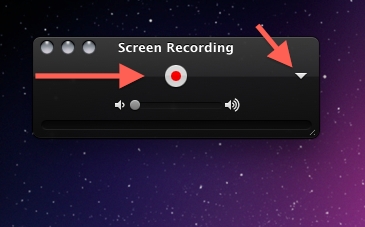
The QuickTime Screen recording window has been opened now. Here you have list of options. Simply click record to use the built in Mic, or move your cursor below to select an audio input.
-
4
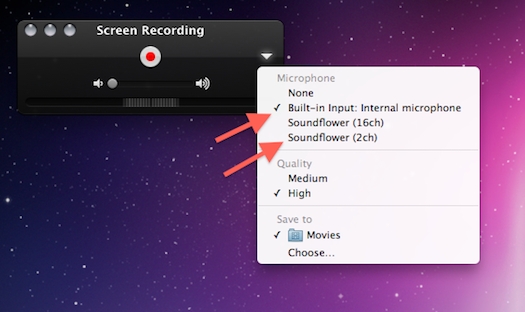
Select Built-In Input or Soundflower.
-
5
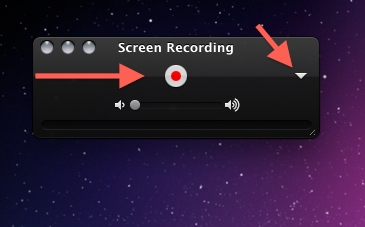
After choosing your desired option, Click the Record Button.
-
6
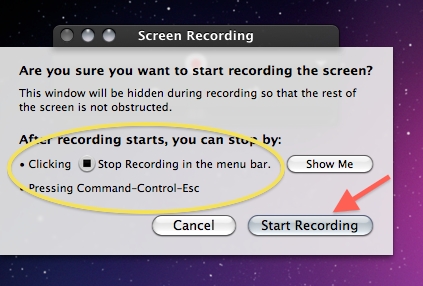
You will see a popup window, which will explain you on how to stop the recording. Carefully read this and then click Start Recording.
-
7
On the top of your screen, there is an option of Stop Recording.

-
8
Open the desired video online in another application.
Note: It is not applicable with the DVD player in Mac OS X.
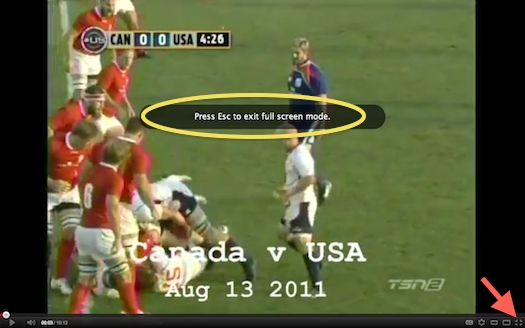
Click Play button and then take the video full screen.

-
9
When you are done with the video, click the ESC key from your keyboard, press the exit full screen button.
-
10
Click on the Stop Recording Button.

-
11
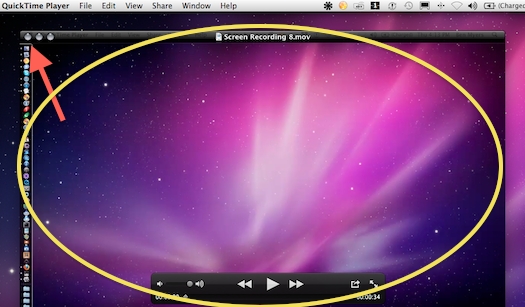
When you click the Stop Recording button, it will instantly open Screen recording in QuickTime Player.
-
12
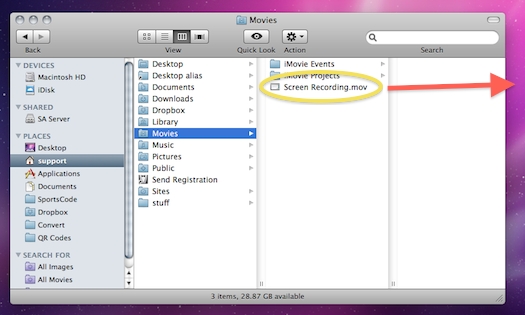
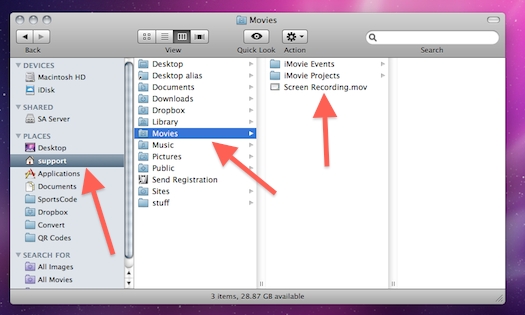
In the movie folder of your mac, you will easily find the movie. Click the finder icon to open the finder.

-
13
On your Home folder there is a screen recording.mov file.
-
14
Drag the file from the movies folder out to the Desktop.
