How To Heat Emboss
Hand-made cards are often more appreciated and heat Embossing an easy technique which can be used to adorn your card and give it a unique look. The Processes requires a few tools to begin with, but ends up with your card sporting a raised pattern which is solid to touch. Before you begin however, you will need to get plain cards, stamps with patterns you want to use, ink pads with colours of your choice, clear embossing powder and a heat gun. You can also get other optional stuff to adorn your card, like ribbons, stickers etc.

Instructions
-
1
Get your stuff together
Find a place to work (preferably a desk) near an electricity output since the heat gun will need to be plugged in to a socket. Choose the plain card you want to work with and the stamp pattern you want to emboss. Use the inkpad of your choice and practice stamping on a blank paper before working with the actual card. -
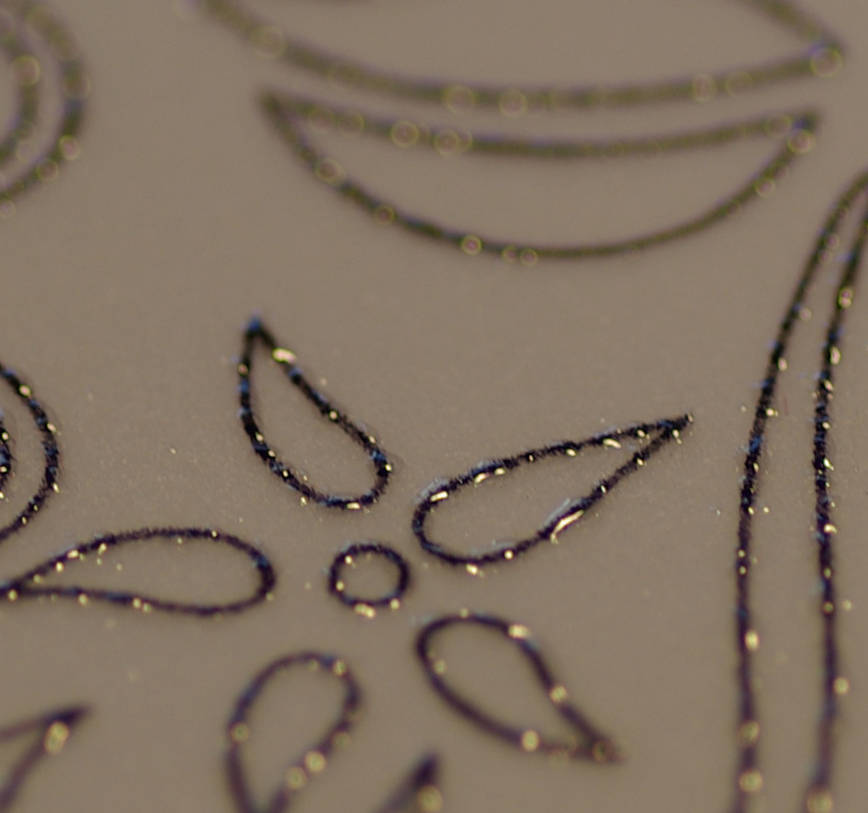
2
Stamp your card
After trying out the stamp on an extra paper, you can stamp the actual card. Ink the stamp properly and make sure the whole of its base is touching the pad. Now choose a spot on the card for the stamp – the centre usually works unless you want to produce an elaborate pattern. Placing the stamp on the card, press firmly but ensure that you don’t smudge it. Lift it up carefully and you should have your design stamped on the card. -
3
Use embossing powder
Before the ink from your stamp dries up, you need to sprinkle embossing powder over it. The quantity does not matter as long as the whole design gets covered. You can easily dust off the extra power or slide it back into your bottle for future use. Coloured embossing powder is also available but is harder to work with. -
4
Fire up the heat gun
Now you need to use the heat gun. Switch it on and hold it over the powdered pattern. Keep a distance of about an inch from the design as you hover over it. Too much heat at one point will spoil the card so keep moving it about. The powder you sprinkled earlier will start melting and the ink stamp will start appearing darker and shiny. Once the whole design is consistently done, you can put away the gun. -
5
All done
Give the card a few moments to completely dry up and cool down. Now your stamped design should feel solid to touch and much more professional. Have fun.
