How to Remove a Drive Belt From a Toyota Truck
Various parts of an automobile engine, including the alternator, water pump, air conditioning compressor and air pump, are operated by the drive belt, which runs continuously to span all these parts. This belt increases the mechanical efficiency of your car by creating higher tension and reducing the friction in the engine. Over time though, this belt stretches and wears out. It is very important to replace the worn out belt in time before it can cause serious damage to your vehicle.
Things Required:
– A new drive belt
– A socket wrench or breaker bar
– A short extension


Instructions
-
1
First of all, get the new belt for your truck from the nearest auto parts store or Toyota dealership. To make sure you get the right belt for your truck, take the VIN number (located on the dashboard) to the store.
-
2
Once you have bought the new belt, review how the drive belt actually runs across the pulleys. Also check if your truck has an under hood diagram, which you will be using while replacing the belt.
-
3
Gather the required tools and make sure they are in proper working condition before you set out to replace the belt.
-
4
Now that you are ready to go to work, open the hood of your Toyota truck and trace the negative battery terminal. Unscrew the bolt holding the battery terminal with an adjustable wrench and disconnect the negative cable.
-
5
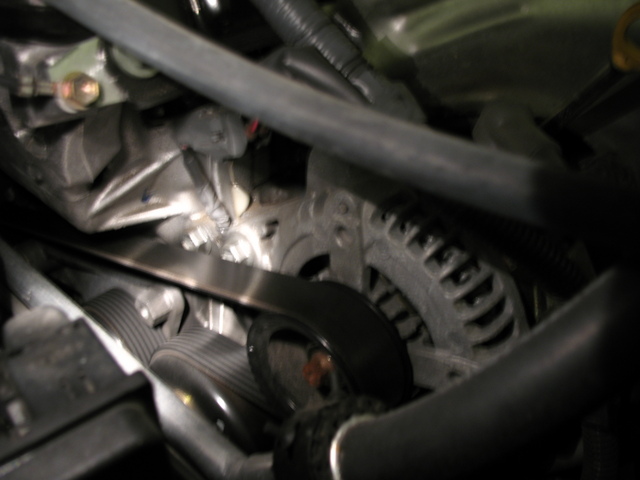
After removing the negative terminal, check the alternator located in the front of the engine, on the driver’s side.
-
6
Locate the pivot bolt, present at the bottom of the alternator, and unscrew it with the help of the wrench. After loosening the pivot belt, apply opposing pressure to push the alternator towards the engine block and loosen the drive belt. If you find it a little hard to push the alternator back, loosen the bolt present at the top as well.
-
7
Now slip the drive belt off the pulley that is present between the power pump and the generator of your engine.
-
8
Slide the worn belt off the remaining engine pulleys as well.
-
9
Slip the belt over the blades of the fan and remove it from the truck.
-
10
Once you have removed the damaged drive belt, install the new belt and fit it into the grooves on all the pulleys.
-
11
In the end fix it into the alternator pulley and tighten the pivot bolt at the bottom of the alternator or generator using the wrench. Also tighten the top bolt with the help of the wrench.
-
12
Connect the negative terminal of the battery and close the hood of the engine compartment.
-
13
Start the car to check if you have correctly replaced the drive belt.


