How to Build a Headache Rack
Making things yourself is always fun. If these provide comfort and are of good use, it’s all the better. It can be even more satisfying if it relates to your vehicle.
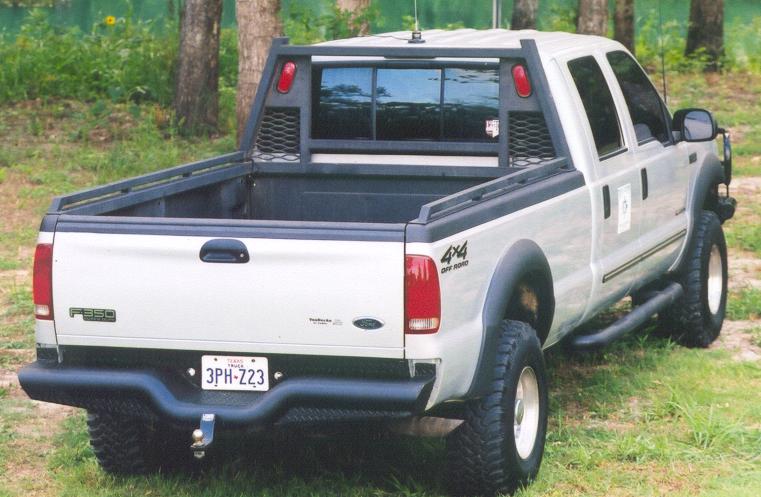
One simple yet useful project is to build a headache rack for your flat bed. The terms come from the concept of saving you from the headache of loads being carried and shifting to the front. It is a practical addition to your vehicle and one that you can make with relative ease.
Things Required:
– 25 Feet 1.5 inch square tubing
– Two feet of 0.25” x 1.5” metal strip
– Welding unit
– Chop Saw

Instructions
-
1
Cut Tubing for Cross Bar
Cut a 60 inch piece of the square tubing for the purpose of the top of cross bar. It will vary with each truck so be sure that you get the right size as per your truck’s requirement. Cut the top ends of the tubing that you cut for the cross bar at a 35 degree angle on both sides. Make sure that the cross bar fits the truck. -
2
Prepare Side Racks
Cut two further pieces of 21 inches in length for the side bars of the rack. Make sure that they are of equal length otherwise the headache rack will give you a headache at the time of its assembly. Make sure that everything fits well before proceeding. -
3
Make the Base
Cut the 0.25” x 1.5” metal strip into lengths of 4” x 6” pieces. Once everything has been put together, use the strips as the base of the rack. Once the structure is ready, make a hole on both sides in the base of the rack and bolt it to the floor of the flat bed and you are good to go. -
4
Add More Features
If you want to add additional safety, you can add some more tubing in an X shape welded from top to the base of the rack. It should do a great job for you and keep you safe from heavy loads pushing forward.

