How to Build a Temporary Handrail System
Temporary railing systems are often required for porches, garages and balconies. Railing systems are used either during renovations or construction of a commercial site and they are designed to keep the workers and visitors safe from any accidents on the construction site.
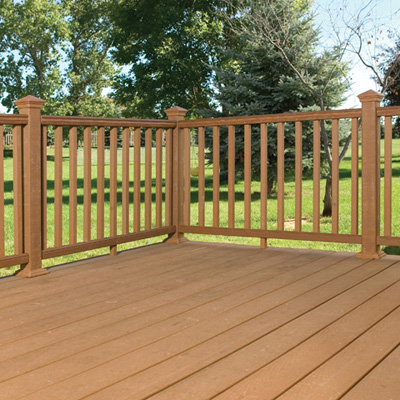
Installing temporary railing systems is a simple process and you do not need to buy expensive materials. Most of the required materials can be easily purchased from your local hardware store. Every railing system has a top rail and an intermediate rail. It is recommended to use a railing system with the top rail at least 1.5 feet long.


Instructions
-
1
Buy 2 by 4 inch lumber from any hardware store. Consider measuring and cutting the 2 by 4 inch lumber for the rail posts, which are made from two 2 by 4 pieces nailed together. Cut one piece into 52 inches and the other to specified 42 inch height.
-
2
You will be required to align the tops of the pieces and then nail them together. This will results in a post with 1 feet overhand to be secured to the balcony header or floor. Consider repeating this process unless you have the required number of posts.
-
3
Place the post at the edge of the balcony or floor. Make sure the post is resting easily at the edge and the one foot long position extends past the floor level. Use two 3.5 inch wood screws at the base of the interior post. Use three 3.5 inch wood screws on the exterior side of the post. These wood screws should be evenly placed through the extending piece.
-
4
It is now time to place a full length 2 by 4 inch lumber across all these posts. Use nails to secure lumber at the top and through the posts. This will serve as the railing system. Repeat the same process for the intermediate railings as well.


