How to Create a Bootable Disk for Windows 95 SE
A bootable disk is a disk which contains all the necessary files to allow your computer to boot from that specific disk, without using any of the files stored in your computer’s hard disk drive. It comes really handy when your computer hard drive gets infected with virus, or it becomes damaged completely.
So, if you are planning to create a bootable disk for the second edition of the Windows 95, then you will have to download boot file that must contain all the second-edition service pack upgrades. The process is really easy and you do not have to be a computer expert to create the disk.


Instructions
-
1
Open your web browser and search for boot file that is compatible with the second edition of the Windows 95 operating system and contains all the service pack upgrades. Open the link and click the download button, to start downloading the file. You can download the executable file on your desktop.
-
2
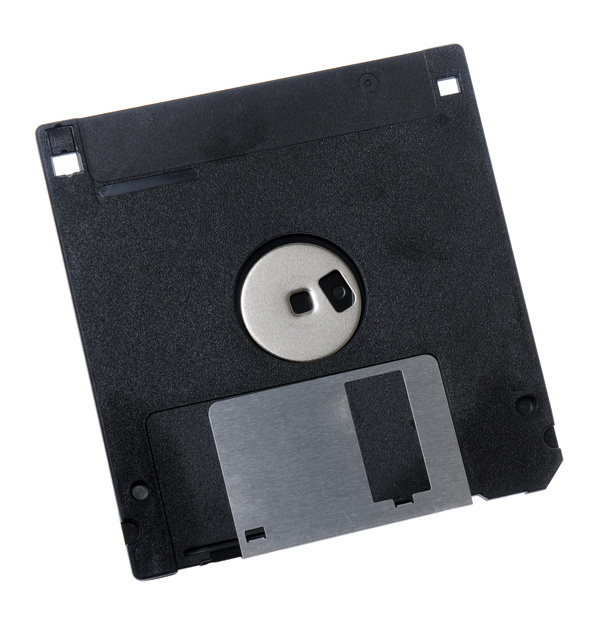
Double click on the executable file, and insert a blank floppy disk into your computer’s floppy disk drive. You can also use any floppy with data which you do not need anymore. Just insert it, and click “Yes” to format all the data and write Windows 95 boot-up information on it.
-
3
Eject the disk from your floppy disk drive and check if your floppy has "write only" tab available it its bottom. Push it to the “locked” position to save it from any loss of bootable data, in case anyone else in your home tries to overwrite data on it.
-
4
Restart your computer and insert the floppy disk back into the floppy disk drive. When the computer starts again, change the boot sequence to floppy drive, rather than using your hard disk drive.
-
5
As it is really difficult to find floppy disks these days, you can also consider creating a bootable disk instead. For that purpose, you will have to search and download ISO disk image of the bootable data from the internet and burn it to the disk.
-
6
To create a bootable disk, you will need a CD writer drive. Once the ISO disk image is downloaded, insert an empty CD into the CD writer drive and use any CD burning software program to burn the data on the disk.


