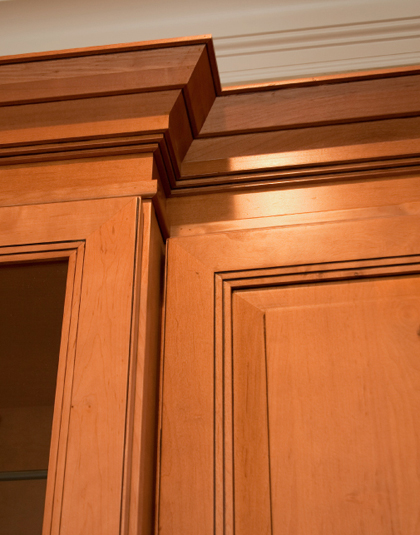
How to Create and Install Trim Accents

Door trim is fixed between a rosette (with which the top of the trim is defined) and a plinth which rests on the floor. If you are not willing to buy the pieces from a local lumberyard, you can create your own with the help of few tools and material.
Things Required:
– Poplar
– Wood filler
– Primer
– Dado blade
– Sander
– Lathe
– Finish nail gun
– Router
– Sliding compound mitre saw
– Table saw moulding cutter
Instructions
-
1
Create a plinth block
First of all, you have to make a plinth block. You can start making it by ripping poplar stock to width of 6/4 (net 1-1/2") x 6". Now, you have to plane the material to a level of thickness of 1-3/8" which is around 1/8" off of the 6/4 material. Then, cut the material to the required height in order to match the existing 12 inches. After that, set up the bit into the router to form the profile by running the top corners through. Finally, you have to take the table saw and set the cutter head to 1/2" width and then sand and pre-prime for the installation. -
2
Create blocks for corners
You have to cut 4/4 (net 1") x 6" poplar stock to a height and width of 5-1/2". Now, centre the piece and end turn cut on the lathe right until the time when the profile is achieves. -
3
Create base for Trim
You can start making the base of your trim by ripping the poplar stock to 5/4 (net 1") x4" to match with the width of the trim profile. Then, set the cutter knives start running profile through the passes of moulder until the profile is achieved. You can rip the additional material, if you want. Now, chamfer the top corners according to your requirements and setup dado on the saw to cut it to -1/4" along with the top corner of the base in the centre of chamfer and the base. You will have to place the profiled pieces of the trim into the top corner of the material in the base. -
4
Install the trim
You can start with installing the plinth blocks first at lower right and left corners of your door by the help of pneumatic finish nailer. Then, install the remaining pieces of the trim which you prepared at the specific places to complete the installation.


