How to Custom Build a Gaming Workstation
Gaming workstation allows you to play your favourite games with your friends at your home on high quality by putting together the computer equipment with some particular specifications.
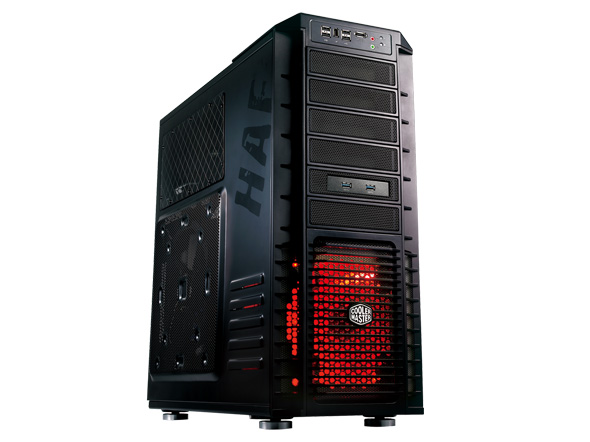
Things Required:


Instructions
-
1
First of all, you have to determine which games you would like to play at the gaming workstation. In this way, you will be able to understand which system you are going to require. Please ensure that the motherboard, CPU and processor are all working in the right way.
-
2
Then, open the case of your computer and ensure that all the screws are there. After that, you have to set the power supply for the fan which is attached to the rear of your computer case.
-
3
Connect the memory and the processor with the motherboard and adjust its settings to make it compatible with the specification of your CPU and all the other components. You can see the manual of the motherboard to check for the settings which you have to make.
-
4
Now, set the holes on your motherboard with the plate and attach them after placing the standoffs in-between. Then, set the cooling system along with heat sink for your processor. Don’t forget to read the instructions on the manual before setting the cooling system.
-
5
Make adjustments in the drivers. Set the drives as a master and a slave. You must know that master and slave drives can work together on only one cable. Therefore, it will be better for you to set up your hard drive as the master.
-
6
After placing all the drives in your system, you must attach them with the help of screws. Then, take the face-plates out so as to place the drives at right locations.
-
7
Then, connect the video card to your motherboard and after that plug in the audio card. Plug keyboard, mouse, speakers, monitor and power cord. Start your system and enter the BIOS to set your preferences. In the end, install the operating system and start playing games.

- Audio card (can purchase a motherboard with built-in audio)
- Drive cables
- Speakers
- Motherboard
- Disk drive(s): floppy, CD or DVD
- Keyboard
- Flashlight
- Processor thermal transfer paste
- Tweezers
- Hard drive(s)
- Processor (CPU)
- Liquid/Water cooling system (for hardcore game systems)
- Mouse
- Case
- Screwdriver
Next%20stop%3A%20Pinterest "Pin It")