How To Cut and Measure Acrylic Nails
Acrylic nails, also known as artificial nails, are a popular cosmetic addition that add length and symmetry to your nails. If you are looking for more nail length in order to use creative nail art, or simply aiming to supplement your naturally short nails with longer, more attractive ones, acrylic nails are the way to go. However, before you can flaunt them, these nails need to be cut, measured, and shaped, to give them a finer look, and get them ready for nail polish.
Things Required:
– Nail clipper
– Nail filling tool
– Sandpaper


Instructions
-
1
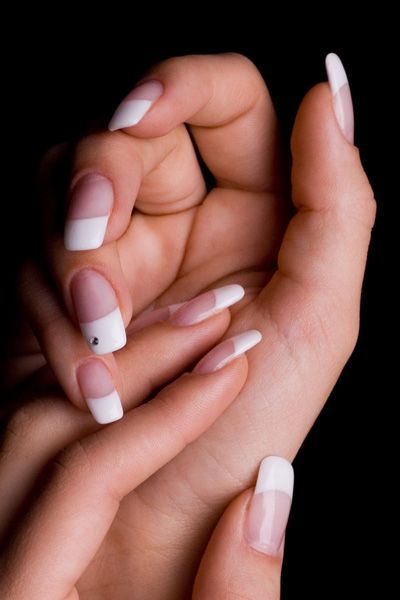
Start by determining the length you desire. After they have been applied, acrylic nails have a rough, standard shape, and need to be tailored to your preferences. Make sure you choose a length you are comfortable with, and can handle easily.
Image courtesy: healthystrongnails.com
-
2
Then, proceed to cut the already applied acrylic nails down to the size you choose. Hold the nail clipper at an upward angle, and start out cautiously, making sure you do not cut off too much. Clip one nail down to the desired length first, see if you like the effect, and then proceed to trim them all down to the same size.
Image courtesy: typef.com
-
3
Once all the nails have been clipped down to size, proceed to measure them. Using the cuticles as a measuring line, bring all the nails to level with the first nail you clipped, and compare lengths to ensure that they are all even. If any happen to be exceeding your desired length, give them a trim.
Image courtesy: jennysuemakeup.com
-
4
Now that the nails are all of the same length, you can move on to filing them into shape. This depends on your individual preferences (whether you’re going for a squared-off look, or aiming for a more rounded, elongated design). However, it is essential to make sure all the nails are filed into the same shape, in order to make your nails look even and symmetrical. For this purpose, use whichever nail filing tool you are comfortable with (a metal nail file, a professional wet or dry sander, etc) – just make sure you hold it at an angle, so it doesn’t rub uncomfortably against your skin as you file away.
Image courtesy: beautyheaven.com.au
-
5
Finally, when all the nails conform to your desired length and shape, it’s time to give them a finishing touch. Using the sandpaper, scrape the nails to remove any excess glue which might be left over after applying the acrylic nails. This will make them smooth, and ready for polish or any nail art you might choose to apply.
Image courtesy: makeupandbeauty.com


