How to Install Oak Stile and Rail Wainscoting
Oak Stile and Rail Wainscoting looks really nice on your walls. They not only minimise the distortion in your house, but they also make it more beautiful and classy. If you are looking forward to install oak stile and rail wainscoting on your walls, you can take help from the given steps.


Instructions
-
1
Take required measurements
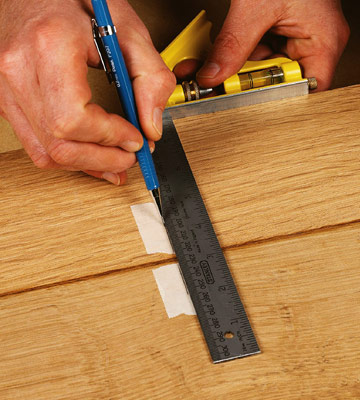
First of all, you have to take all the required measurements of your walls and note them down on a piece of paper. You will have to take measurement of fixtures and electrical outlets before installing your oak stile and rail wainscoting. Furthermore, you should check the corners of your walls by the help of level, if any points are plump, make them as reference points. -
2
Hang up the oak plywood
After noting down all the necessary measurements, you have to hang up the oak plywood on the wall. Start from the inside edge and hold it up to the level line which you marked in Step 1. Now, according to the measurements, put all the studs around the corners of the ply. You can drive the screws easily into the wall, if you drill it first. -
3
Put in the rails
You must install the bottom rail first for which you have to pre-rip all the rails, cap and stiles to the required width. Then, install the top rail. In order to put in the top rail, you will have to keep its top level with the top of the plywood. -
4
Set up the stiles
After installing the rails, you have to set up the stiles. Begin your installation from the same inside edge and work it out from every 4 inches. -
5
Put in the cap
Cap covers the corners of the plywood including the top rail. You will have to install the cap from the inside corner (same corner from where you started in step 4). -
6
Install the round
In the end, you have to install the round starting from the same inside edge and your oak stile and rail wainscoting will be completed.


