How to Layer Photos Using Layer Mask with Photoshop CS
Adobe Photoshop is an amazing image editing software program which allows you to merge different pictures in one frame and enhancing the overall look of your pictures. Layer Mask tool is a great way to use one picture as a background for another picture. For instance, if you want to remove anything from a picture and replace it with anything else, then you can use the Layer Mask tool. At first, you may find it a bit difficult to use this tool. However, you can master it by some practice.


Instructions
-
1
Run Adobe Photoshop and load the images which you want to merge or blend with each other. For this purpose, place all the pictures in one folder on your computer hard disk. Open the “File” menu and select “Open”. A new dialog box will open on your screen. Select all the image files, while holding “Ctrl” on your keyboard, and click the “Open” button. Here in this example, two images will be used.
-
2
Select the images and click the “Move” tool, from the standard tool box. You can also press the Ctrl + V keys on your keyboard to launch the move tool. Click and hold one image, which you want to blend, and drop it over the other image, which you want to use as the base or background of the image. Here, you should make sure that the foreground colour of the image is black.
-
3
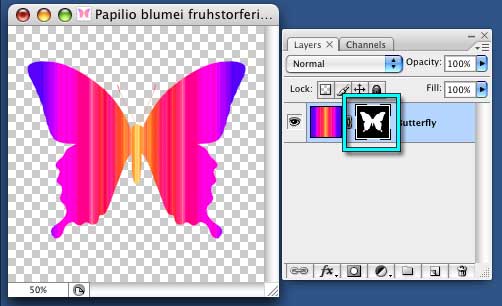
Now you can start editing your image. For that purpose, you will have to click the “Layer Mask” button and select the gradient tool. A new options window will appear on the screen. Select the gradient style which you want to use for your picture. You can now adjust the colour of your image, either by changing a part of it, or the entire picture.
-
4
Click the Layer Mask button once again and drag it to your picture, in order to apply the gradient to your mask. It will now blend both the images.
-
5
From the “Brush” tool’s dropdown menu, select a soft edge brush, with appropriate size. You can now reveal the background using the paintbrush or spray tool. Just pain the image area which you want to reveal from the base, using black colour. After you are done, reverse the colours for the foreground and background, and you will see the background on your front side picture.


