How to Make a Belly Cast
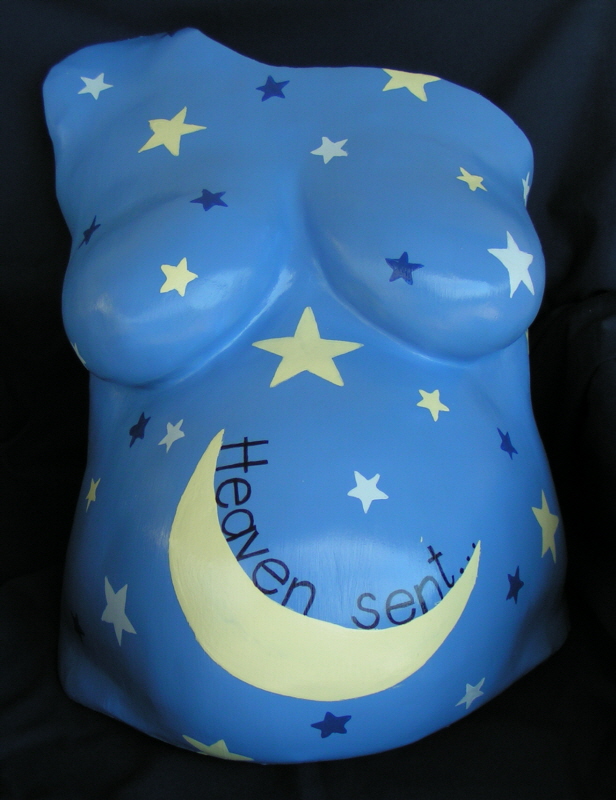
Belly casting is not a difficult procedure and is a fun way to remember that special time in your life. It practically takes no time to complete and the best part is you can do it all by yourself without any help from your partner. These days, mothers are encouraged to get belly casts during baby showers. Once the cast is done and dried, the pregnant mother can hang their casts on the wall, and decorate the cast with different colours and designs. No matter where and how you arrange it; the belly cast will always keep your pregnancy memories fresh. Keep reading this article to learn how to make a belly cast.
Things Required:
– Chair (if the mother chooses to sit during the casting)
– Drop cloth (maybe two if the mother will stand)
– Scissors
– Three to five rolls of plaster bandages
– Pan or bowl with warm water
– Petroleum jelly


Instructions
-
1
Set things up
The first thing you need to do is lay down a big cloth where you will be casting. If the mother wants to sit down during the process then place a chair on the cloth and then cover the chair with another cloth to prevent the chair from getting ruined. You now need to cut the plaster bandages in seven to nine-inch strips. This is the preferred length for casting. You now need to fill a bowl with warm water. -
2
Prepare the mother
Let the mother experiment with the positions till the time she finds one where she is comfortable. The mother can decide to stand or sit in difference poses. The casting process will take almost thirty minutes with the additional fifteen minutes to dry. Hence, it is very important that she chooses the position which will not be difficult to maintain for this period of time.
She should then be asked to take her clothes off in order to expose the belly. However, if she is not comfortable with getting naked, then suggest her to wear an old bra or use an old towel to cover herself. Once the mother is comfortable you now need to rub petroleum jelly on the portion of the body which is intended to be casted. This is done in order to prevent the cast from sticking to the skin and causing rashes. -
3
Prepare the casting
Begin by taking a strip of the plaster and dip it into the bowl, making sure that you wet the whole strip. However, ensure that it is not curled or twisted when you take it out. To make sure that the excess water is out you need to run the strip through your fingers.
Now, be very gentle and careful as you place the strip over the casting area. It is recommended that you smooth the strip with your fingers.
Now repeat it till the time you manage to cover the entire casting area. To increase the thickness of the cast you should add more strips.
Now leave the cast to dry, you will notice that as the time passes by, the plaster will begin to pull from the mother’s body. Almost after twenty minutes, help the mother wiggle out of the cast with you holding it. Now place the cast aside and let it dry for almost a week.

- Drop cloth (maybe two if the mother will stand)
- Scissors
- Three to five rolls of plaster bandages
- Pan or bowl with warm water
- Petroleum jellyNext%20stop%3A%20Pinterest "Pin It")


