How to Make a Chalkboard Mural
If you want to improve your or your child’s artistic sense, using a chalkboard mural is the best way for it. Most of the people face problems while presenting their ideas in front of other people. This mostly happens due to the lack of confidence or sometimes due to the inability to express their ideas in a proper manner. Having a chalkboard at home provides you the opportunity to draw your ideas. This not only improves your skills but also gives you confidence in doing the same thing in front of other people.
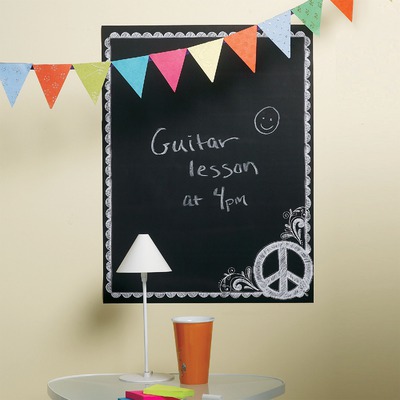
The biggest advantage of chalkboards is that once you draw things you can erase them and do that all over again. It saves not only your money but provides you with the ease of helping your kids to make changes. Most of the parents prefer chalkboards that come in small sizes as they are handy and easy to carry while other gives reasonable value to the large size boards, which are usually hanged on the wall. The latter provides the privilege of drawing big diagrams which is more helpful for kids. The chalkboard comes in two different colours, black and green. If you do not want to buy from the market and want to make it at home, there are easy ways for that.


Instructions
-
1
Open your search engine and try to gather the materials required for making the board. You would need a plenty of things, make sure you have them all. The most important things you would need are black, blue and green chalkboard paints, painter’s tape, pencil, roller, synthetic brushes and a tray where you could place different paints.
-
2
You should paste the blue paint on the wall and do not touch it until it gets dry. Leave it for a few hours and then make the shape of your own choice. Remember, you can make different sceneries like mountains, a home or a river.
-
3
Use painters’ tape in those areas of the picture which you think should be prominent like on the borders of road or river. Apply the tape at the border of the diagram. You can also use it to decorate your mural by applying it on the edges or the rooftop, if you drew a house in it.
-
4
After your drawing is complete, it should remain untouched for almost 72 hours so that it could dry well.


