How to Make a Homemade Projector Screen
Although there are different ways of making a homemade projector you should choose the one that best suits your needs. It is recommended to follow some simple instructions to get the job done quickly. The steps involved are simple and easy to follow. When making a projector, you will have the freedom to design miniature which will essentially send a video image through a projection frame while focusing with a lens. Fresnel lenses are commonly used to make projectors at home.
Things Required:
– Cardboard
– Scissors
– Duct tape
– MP4 player or TV set
– Fresnel lens
– VCR/DVD player (for TV)

Instructions
-
1
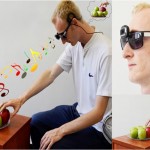
Turning a small media player into a homemade projector requires determination, attention to details and patience. If you do not have these qualities, you should consider hiring a professional to get this job done for you. For those who believe they have the skills to assemble a homemade projector they will need to get a small media player such as Zune or iPod. Any media player that can play videos will work well for a homemade projector. However make sure the media player you select offer a sharp picture screen.
-
2
Next it is time to cut a frame from a large piece of cardboard. This should be identical to a box with open ends. Make sure the length and width and shape and size of the media player are similar to the dimensions of the box of cardboard. Use tape to connect the screen to the frame. When taping the sides of the box make sure no light can escape when the screen meets the frame. Take your time when performing this task as escaping of light can damage the picture quality of your projector significantly.
-
3
Create another cardboard box just like the one assembled in step 2. Make sure the box is large enough to be placed on the first frame. You should fit it in a way that it can slide across the inner frame if required. Fit a large size Fresnel lens within the larger cardboard frame. However the lens’s original zero point should remain the zero point of the reduced lens.
-
4
Turn on the media player and make sure it is pointing towards a blank wall. Move the frames backwards and forwards to adjust image size and quality. Remember this is a basic setup for a homemade projector and the quality will not be as good as a store bought projector.
-
5
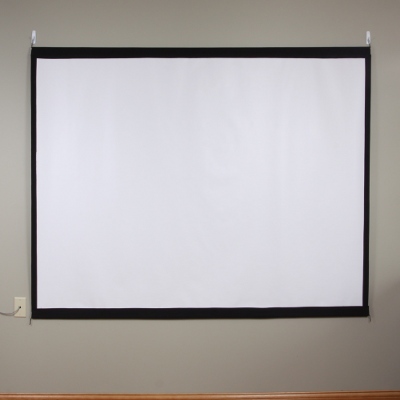
To make the screen you will need some white sheet or drop cloth that you can find in any large store. Make a basic wooden or plastic frame to the size that you want. Carefully stretch the cloth material over the edge of the frame and staple it so that it is secure. This screen should give you the desired results with your homemade projector.
Next%20stop%3A%20Pinterest "Pin It")